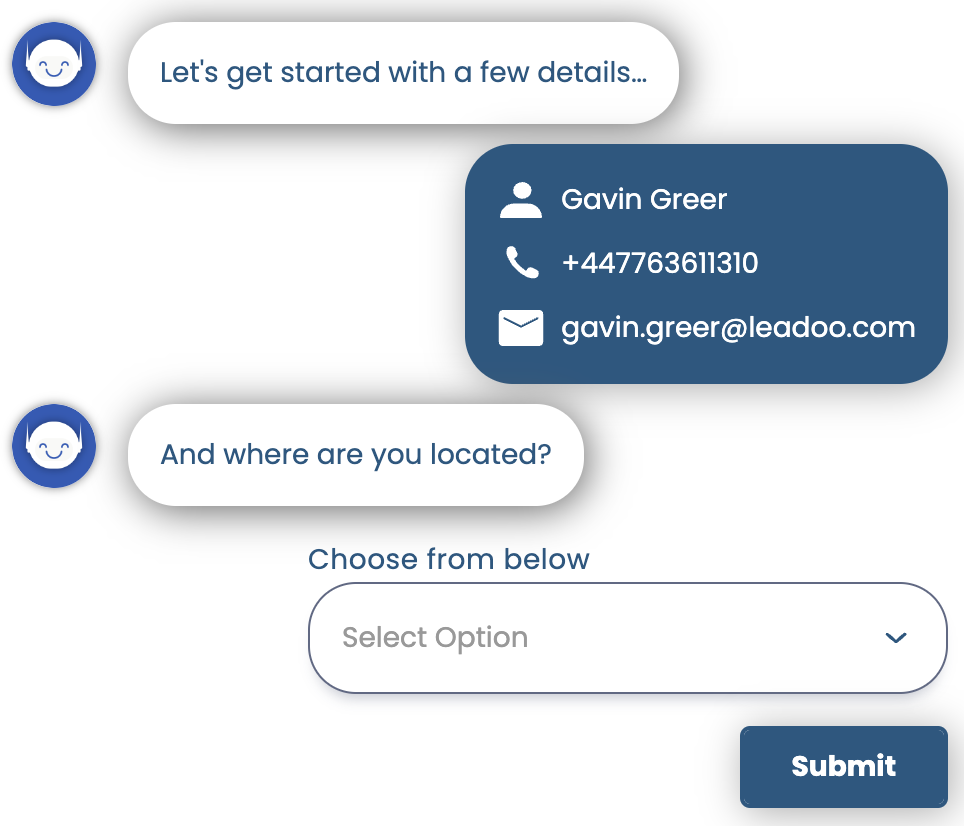
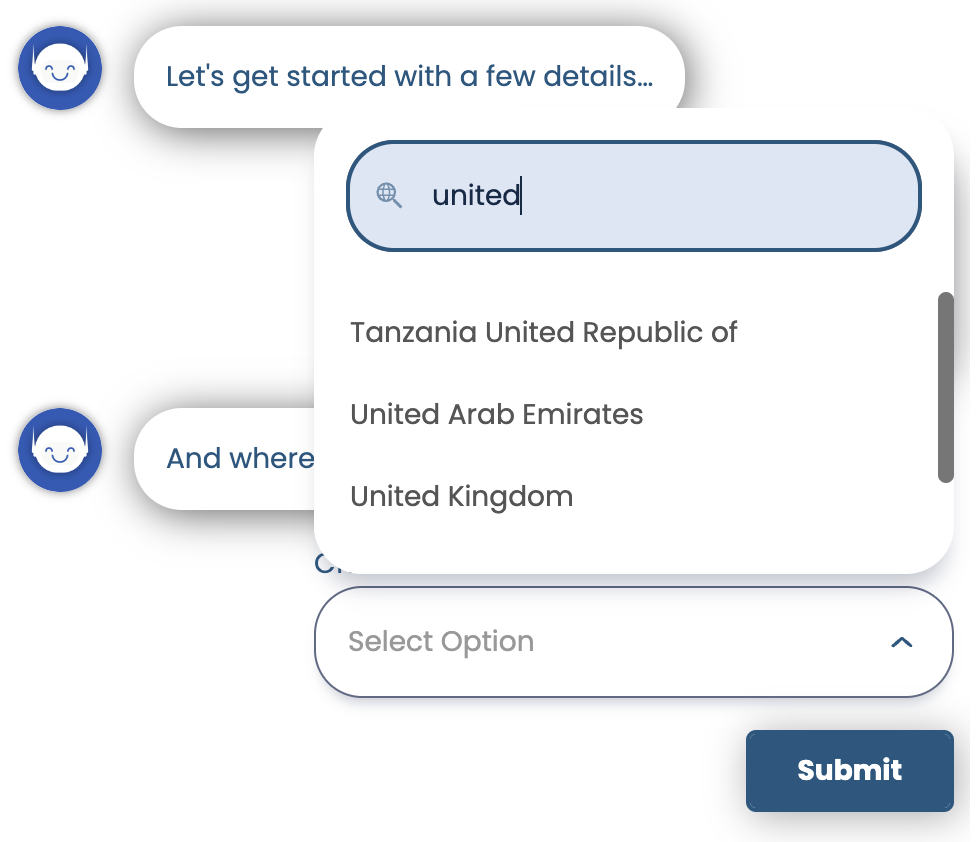
Using the dropdown node is a great way to offer your visitors a wide selection of options to choose from in a very user friendly way. This node is great for when the single choice option is getting a little cluttered, generally we would recommend for options of 6 or more.
How to set it up
Let’s start by building the dropdown list, which you can either do directly in the bot builder or in the general bot settings area.
General Bot Settings
Under the Conversion Kit menu you’ll find general bot settings and dropdowns is the first option. From here you can manually add your dropdown list, in the example below I’ve chosen a country list, or if you already have a list you can upload it using the quick import button. To make sure you’ve got your list set up properly, you can use the sample file to get started!
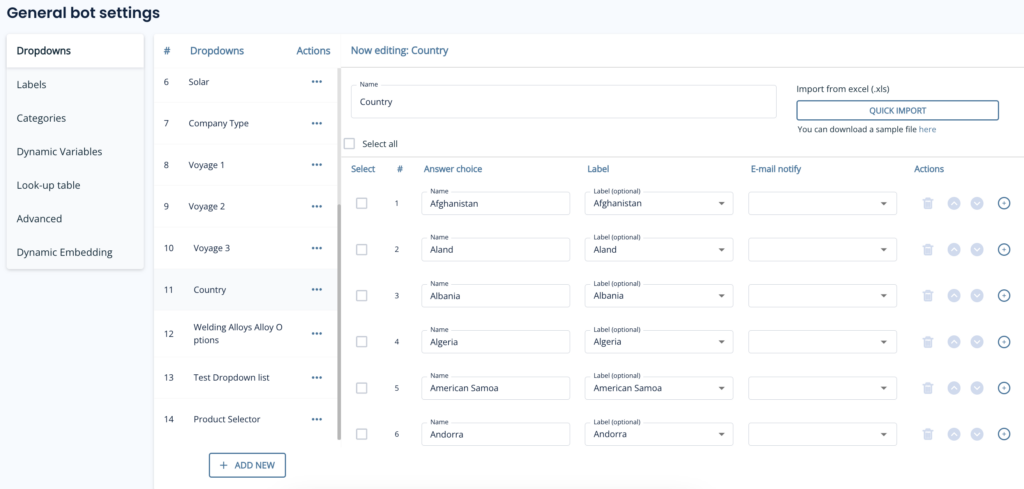
You’ll notice a few headers here, so let’s explain those:
- Answer choice – this is what your visitors will see as an option to select
- Label – they are great for tagging a visitor’s answer so you can use it for lead.notification emails and creating personalised pathways. You can read more about labels here and I’ll share an example later on in the article.
- E-mail notify – use this to send lead emails to external partners when a certain option is selected, great for promoting resellers etc.
Creating Dropdowns in the bot builder
If you prefer to build your dropdowns on the fly then that’s great! Simply add the dropdown node to the canva and instead of selecting a dropdown list, click ‘create new’.
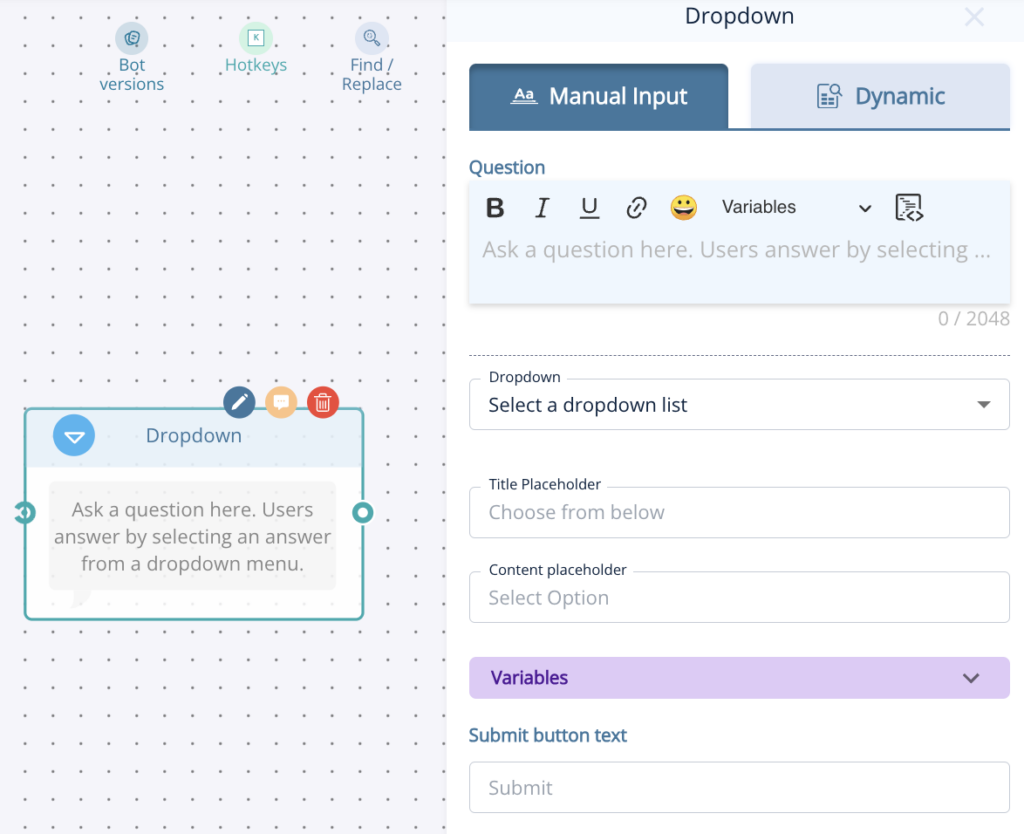
From here you’ll give your dropdown a name and then add the options one by one and add any relevant labels.
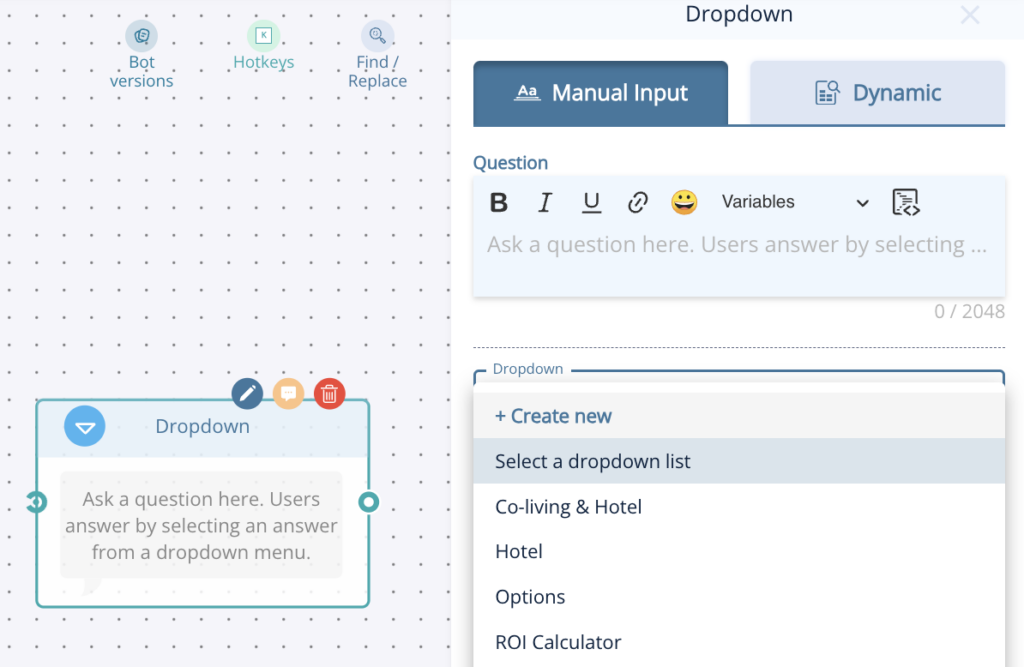
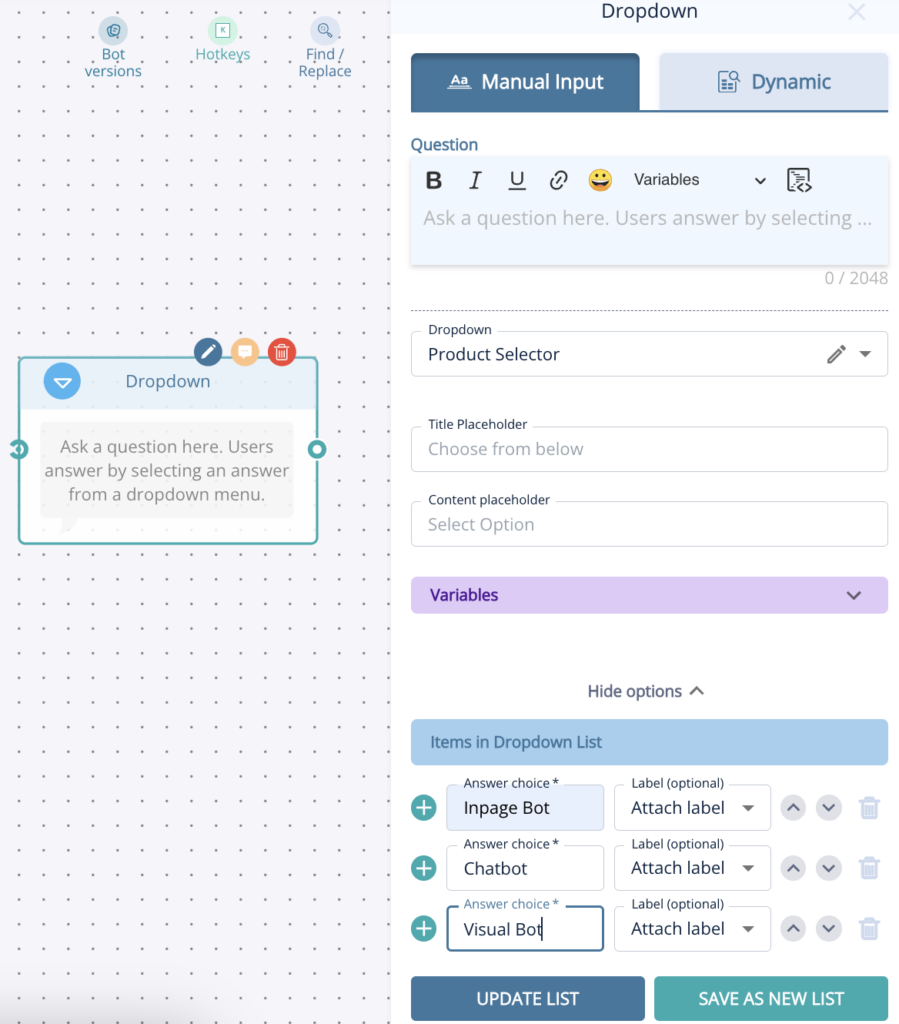
Don’t forget to click either update list or save as new list when adding items this way!
Adding a dropdown to a bot journey
Now it’s time to think about when to use the dropdown option. First of all you can either have it as a standalone node or as part of the form node.
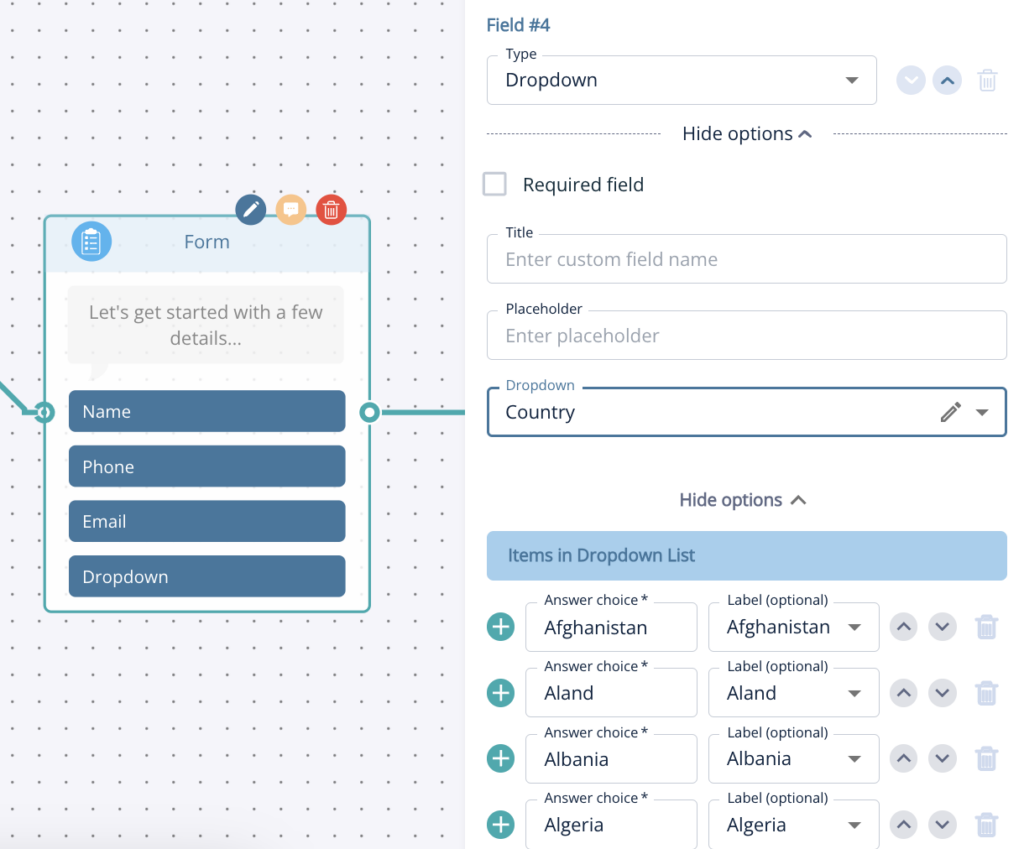
We would suggest using it as a separate node if you’d like to create a more conversational lead capture journey but adding it to the form is always good, just keep in mind that too many questions at once can be off putting!
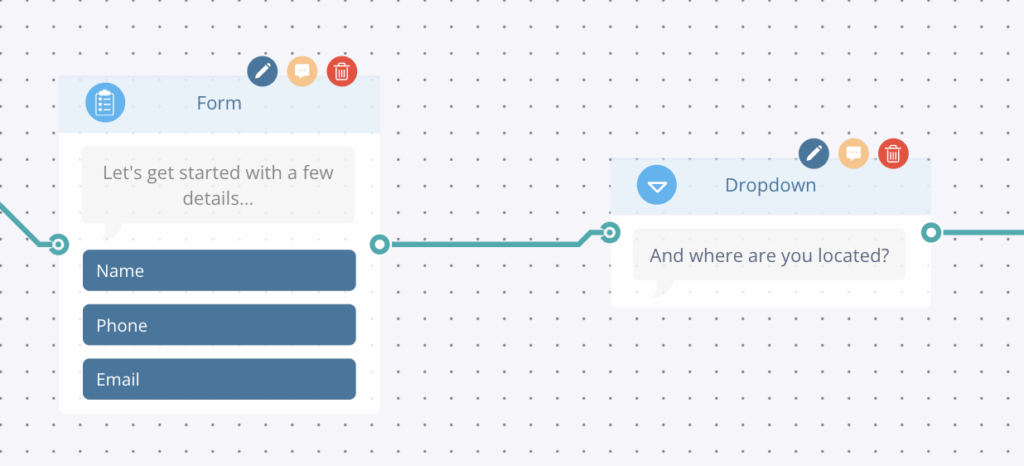
An example of the dropdown node
Enable dynamic suggestions by toggling them on in the AI node. Once activated, the AI will present them after each response. There’s an additional prompt field where you can guide the AI on how to handle these dynamic suggestions.
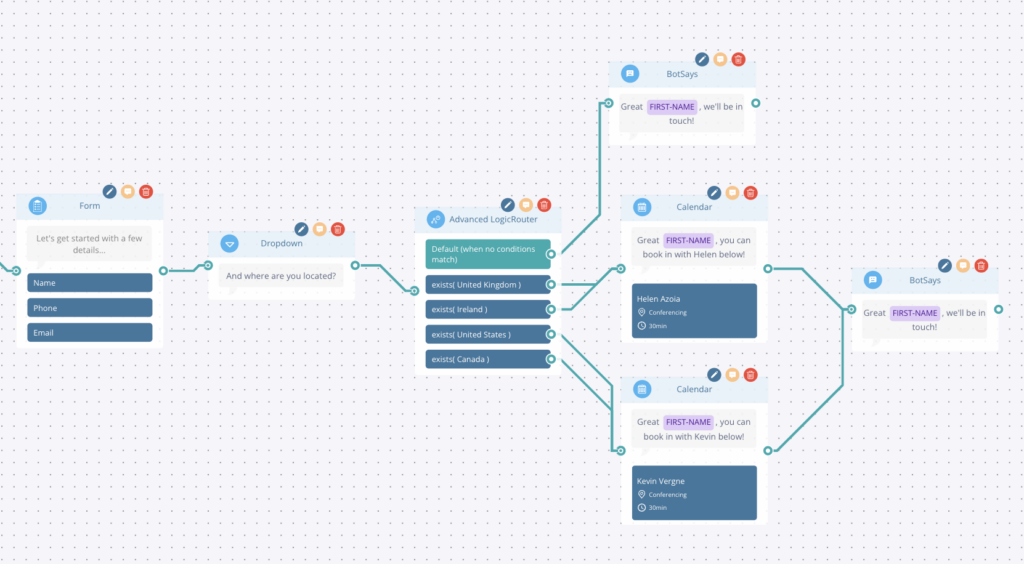
In the example above, we’ve created a conversational pathway to gather some contact details and the visitors location, which we will then use to generate calendar booking for the relevant Business Development Representative.
This is a simple and effective way to use a dropdown list and labels to create a personalised flow which helps filter leads to your team.
As you can see we ask “And where are you located” as a dropdown, once they answer this it goes into an advanced logic router (you can read more about this node here). This router is checking which label has been applied based on the country of residence that the visitor selected and from there it will send them to a calendar booking with the BDR for that region!
Hope you found this useful, why not get stuck in and try it yourself! Don’t forget if you need any advice or help just reach out to your Account Manager.