Did you know that the placement and triggering of a chatbot can often define the success or failure of a chatbot when it comes to results?
Follow these simple steps to find out how to engage your visitors with Leadoo Chatbot in the right place and time! 💪
Step 1: Choose Trigger type
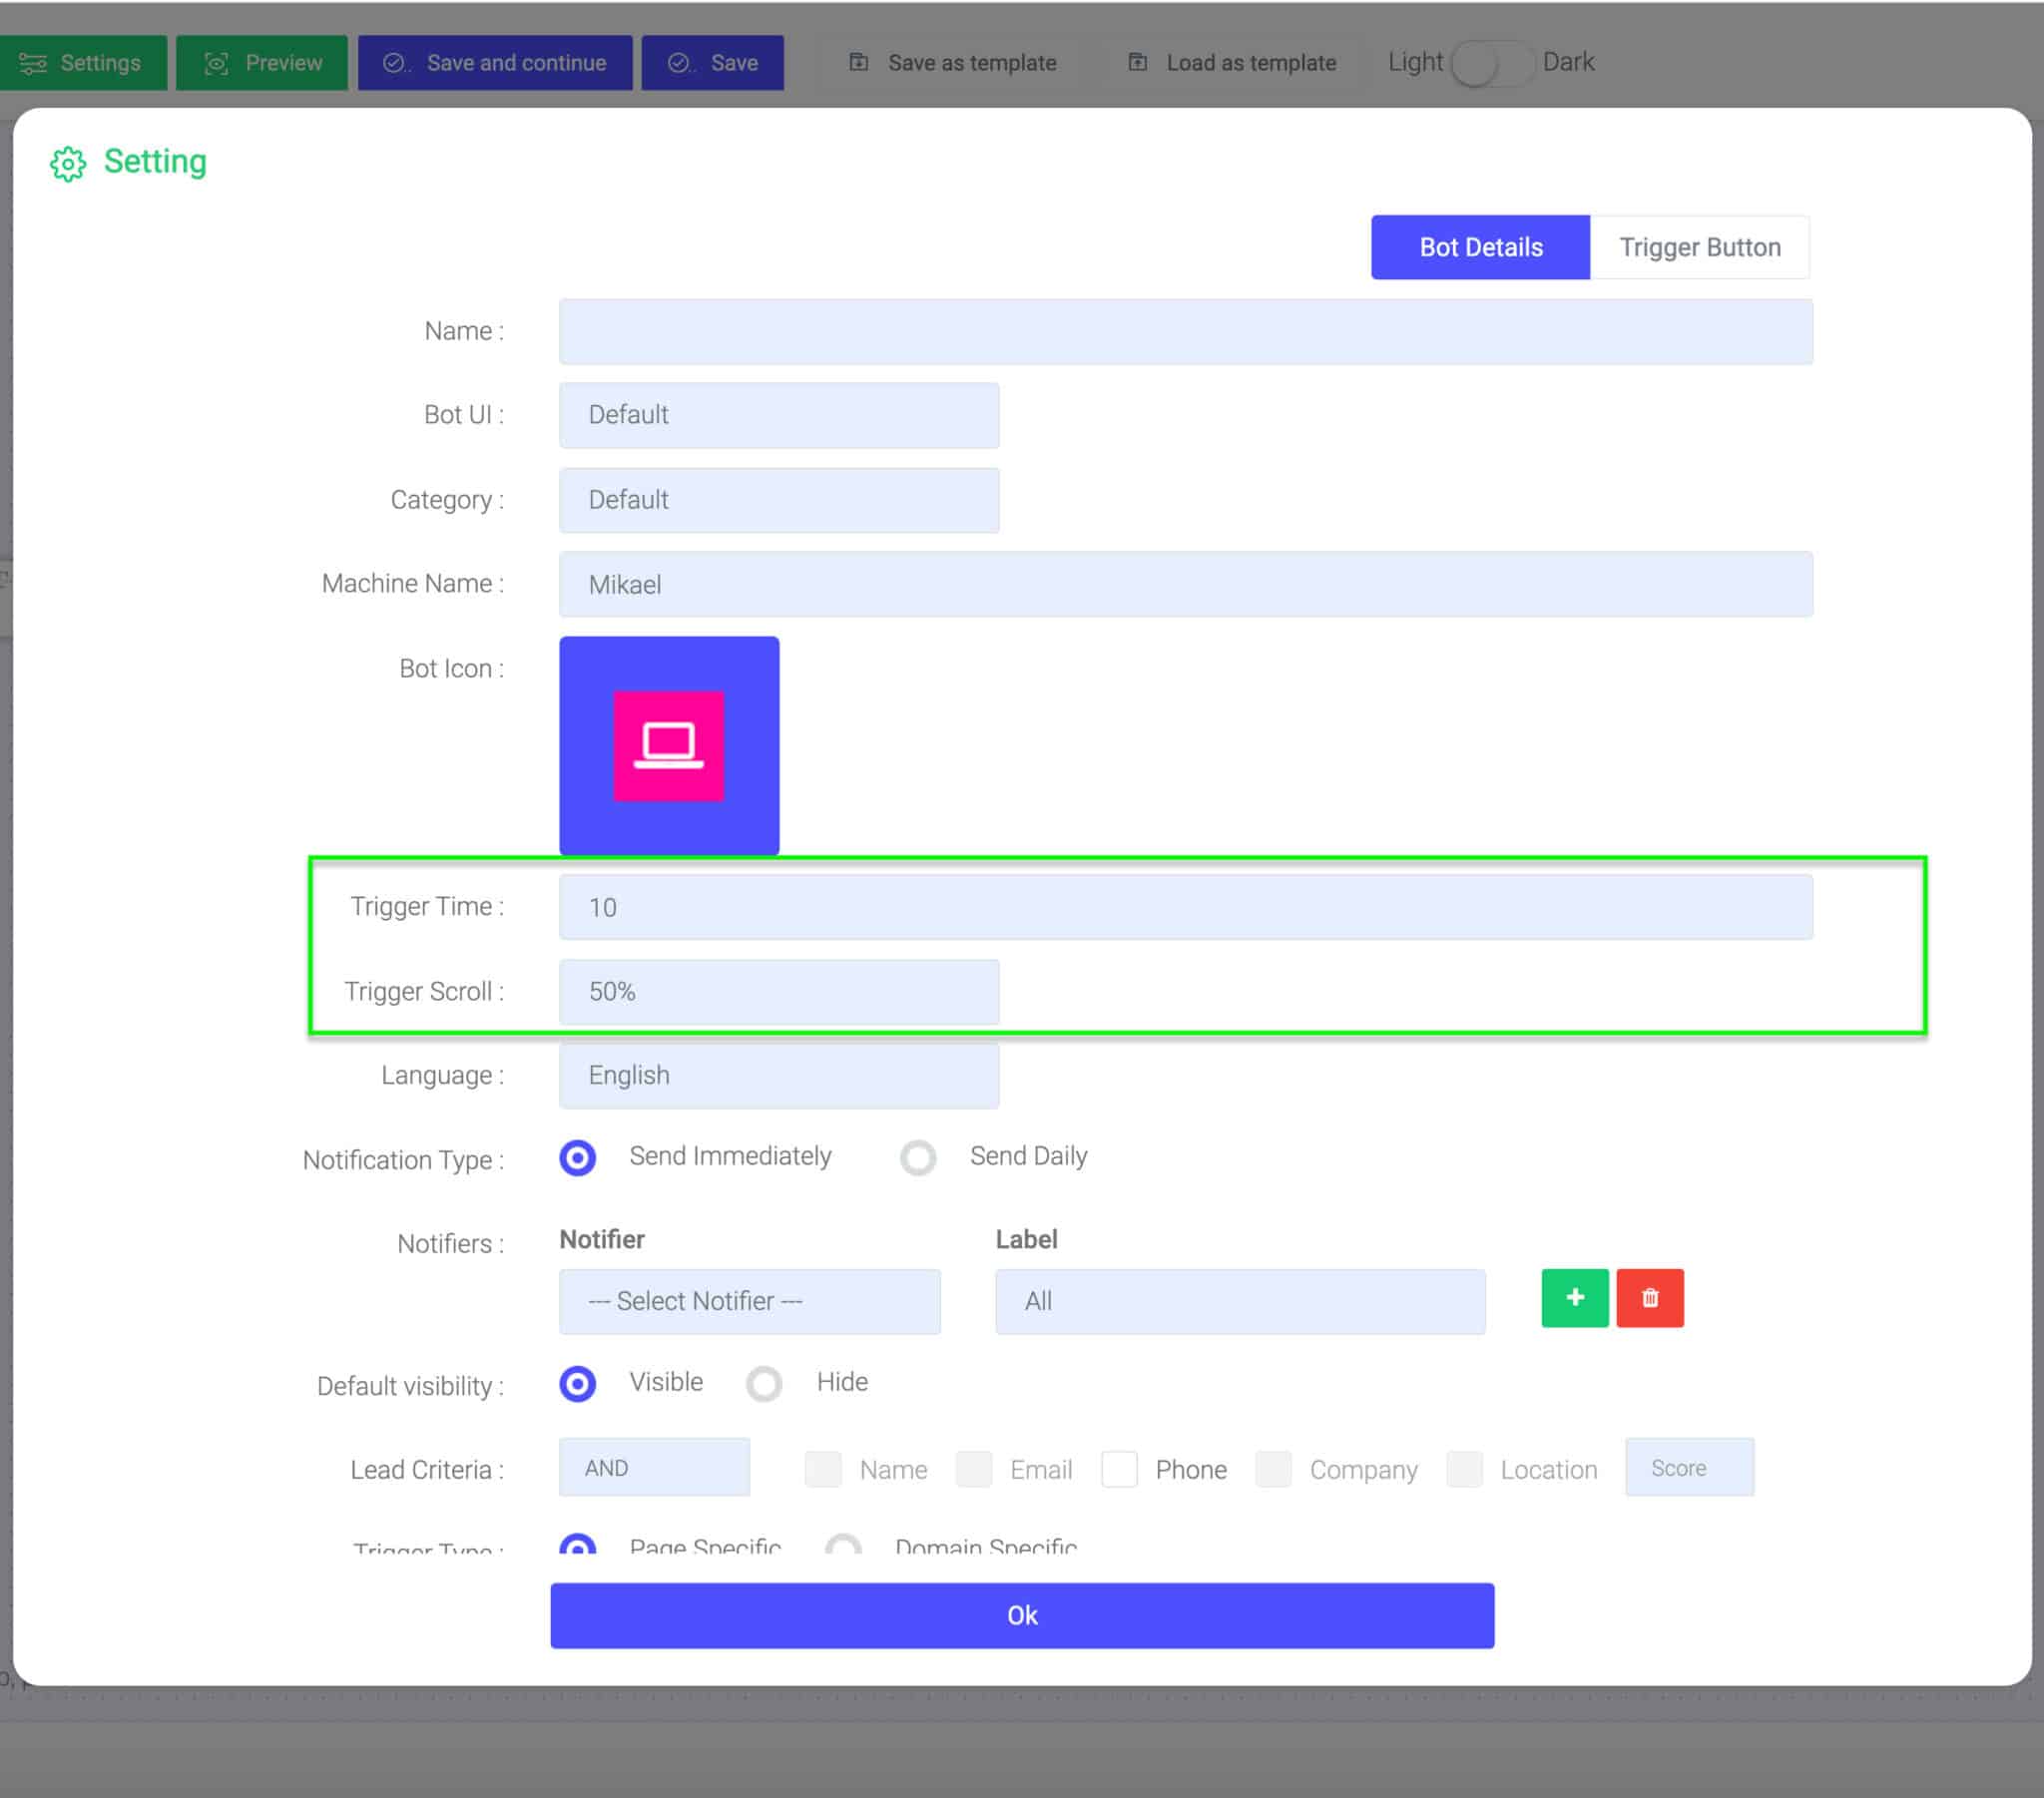
Leadoo Chatbots can be set to trigger on a website with three types of triggering rules. The defining rules are:
- Time spent on page (e.g. website visitor has spent 10 seconds on the page)
- Page scroll stage (e.g. website visitor has scrolled 50% of the page)
- Combination of scroll and time spent on page (e.g. website visitor has spent 10 seconds AND scrolled over 50% of the page)

Step 2: Define URL triggers
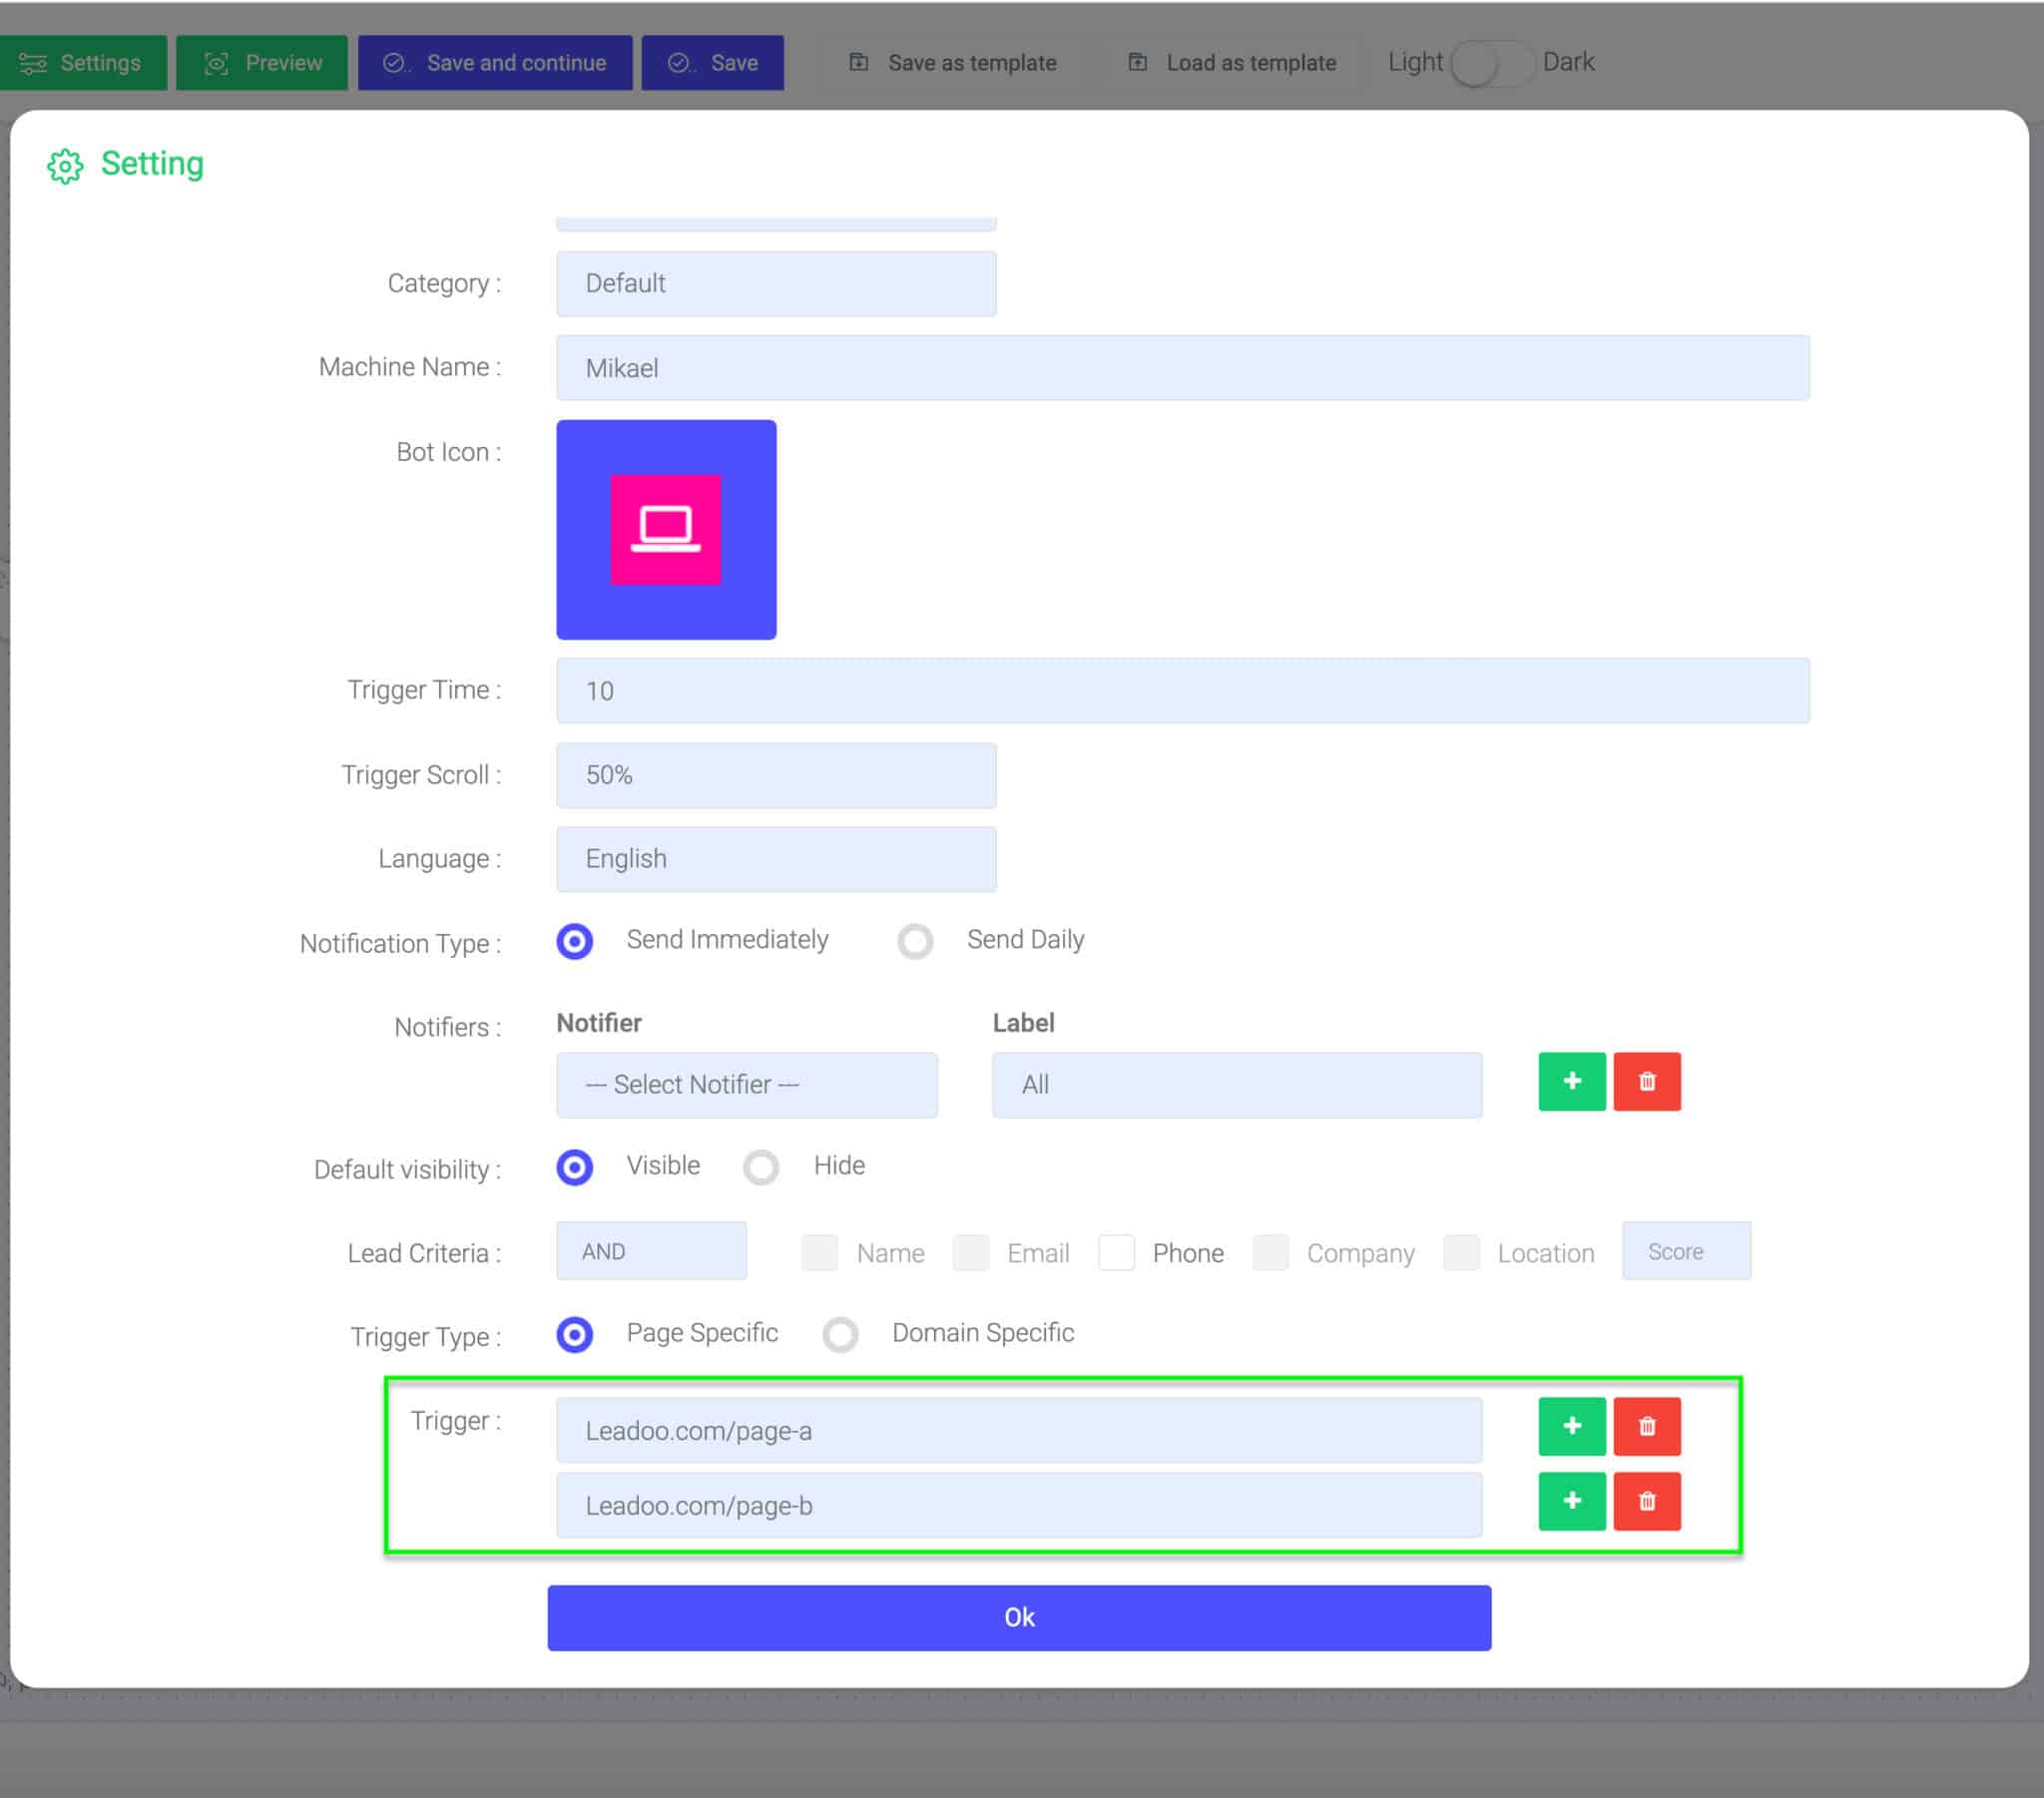
Leadoo allows your chats to be displayed to the visitors based on custom URL rules. This means that, depending on the settings you define, you can have different chatbot dialogues or livechat categories displayed on different landing pages of your choice.

To set of custom URL triggers, you may choose between three different options:
- Page-specific (most popular choice)
= Chat triggers when a visitor enters the exact URL address you define in the given field. You can broaden the selection by using the asterisks sign *.For example:
leadoo.com/ = the chat triggers only on the front page of leadoo.com
leadoo.com/* = the chat triggers globally on each page of leadoo.com domain
*product* = the chat triggers on pages that include the path product (like leadoo.com/product/inpagebot AND leadoo.com/product/chatbot) - URL contains
= Chat triggers on the domain where the script is added, as long as the landing page URL contains a specified rule, e.g. certain keyword.For example:
URL contains: blog = the chat triggers on each page of the domain where the URL contains the keyword blog (like leadoo.com/blog/increase-conversion AND leadoo.com/blog/5-chatbot-benefits, etc.) - URL doesn’t contain
= Chat triggering is denied on pages of the domain where the URL contains a specified rule, e.g certain keyword. A good choice if you want to easily set the bot globally on each landing page but also disable it on a couple of specific landing pages.For example:
Triggers: Page specific: leadoo.com/*
URL doesn’t contain: sign-up
= the chat triggers on all leadoo.com landing pages, except any URL that contains the keyword sign-up, like leadoo.com/sign-up.
Note! There is no need to add a prefix like https:// to the URLs you define. The system will know to handle these. If you will, you can add the asterisks on front of your URL definitions to make the triggering more bullet-proof (e.g. *leadoo.com/)
Step 3: Personalize with custom chat window styles
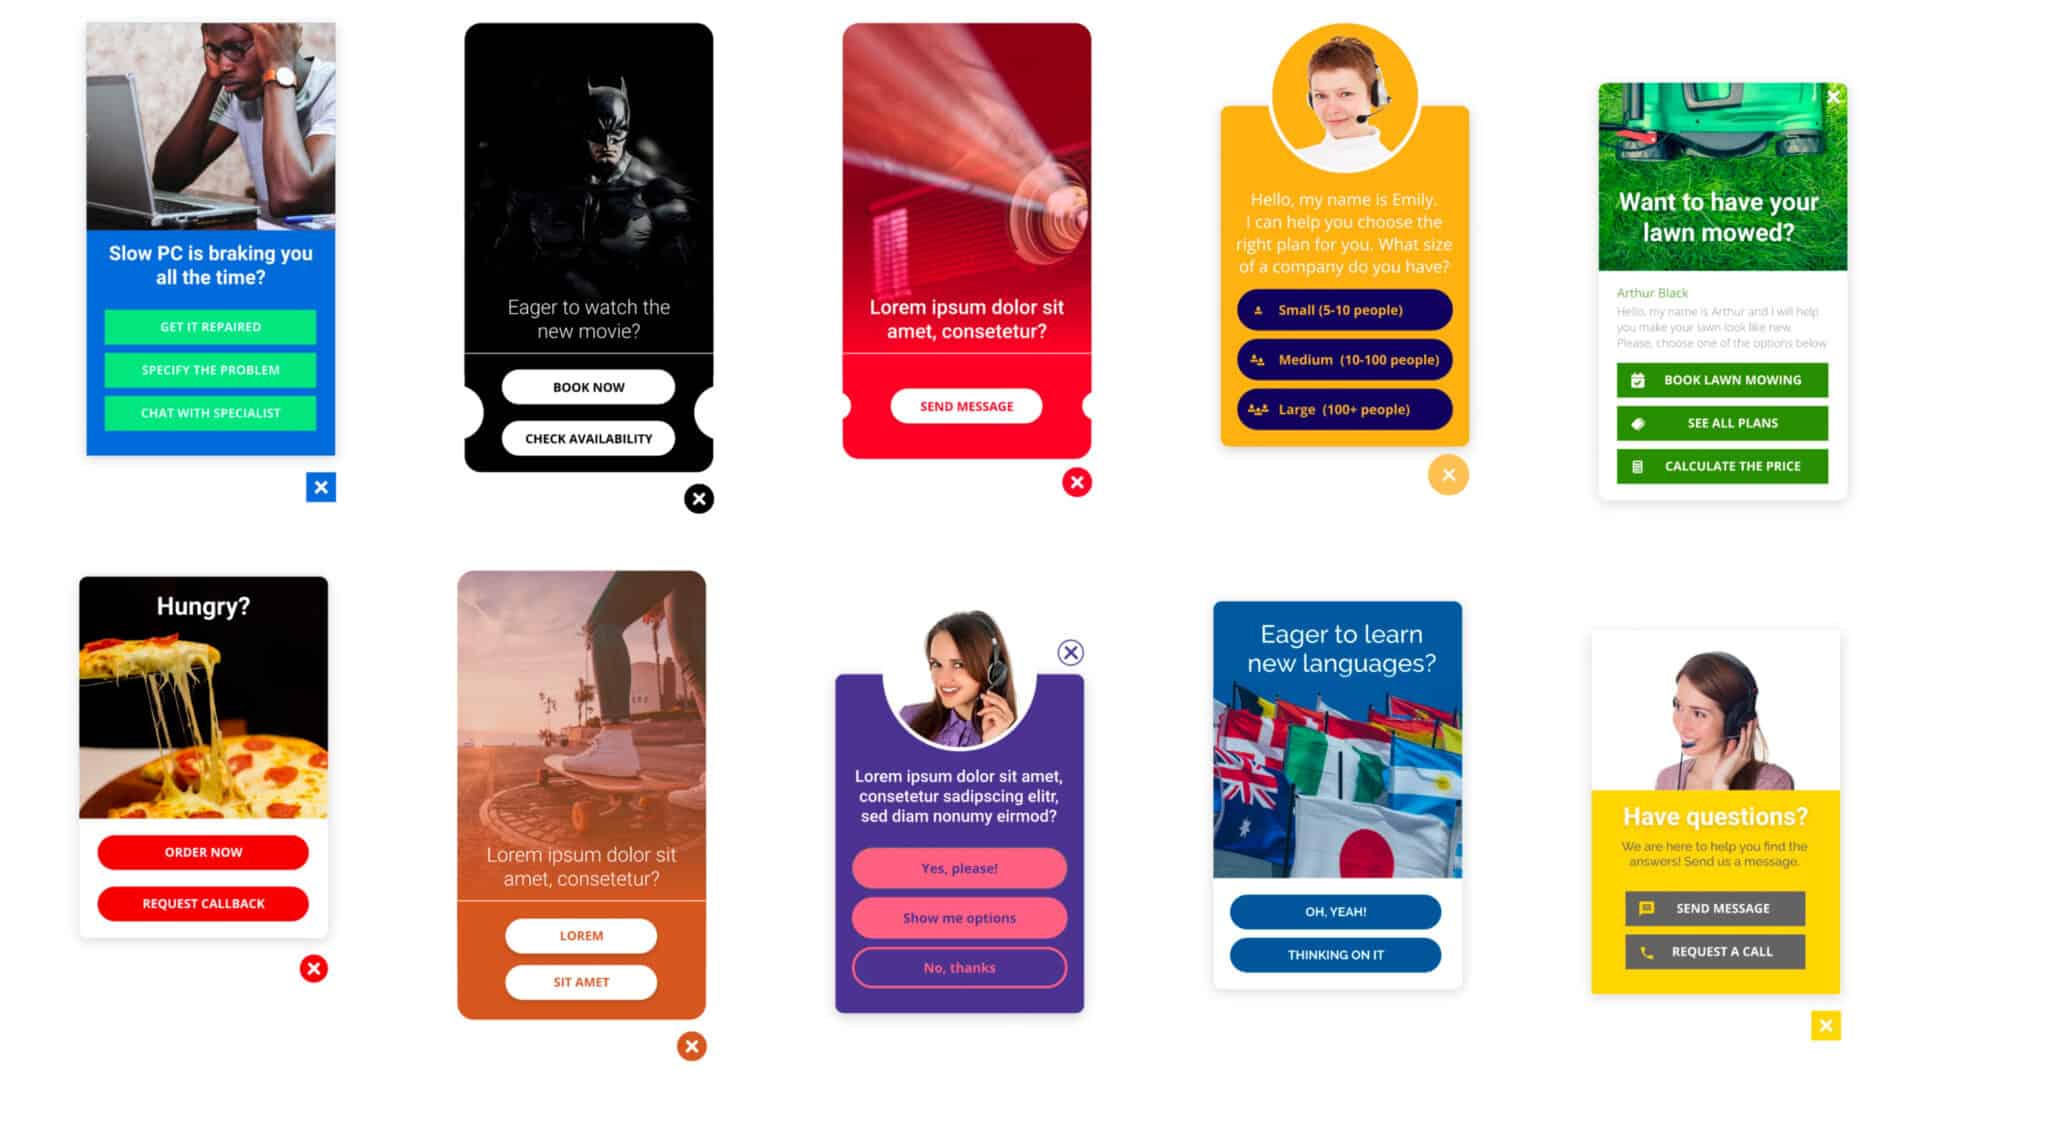
Leadoo has 14 different chatbot windows including icons, image-based windows and simple text triggers.

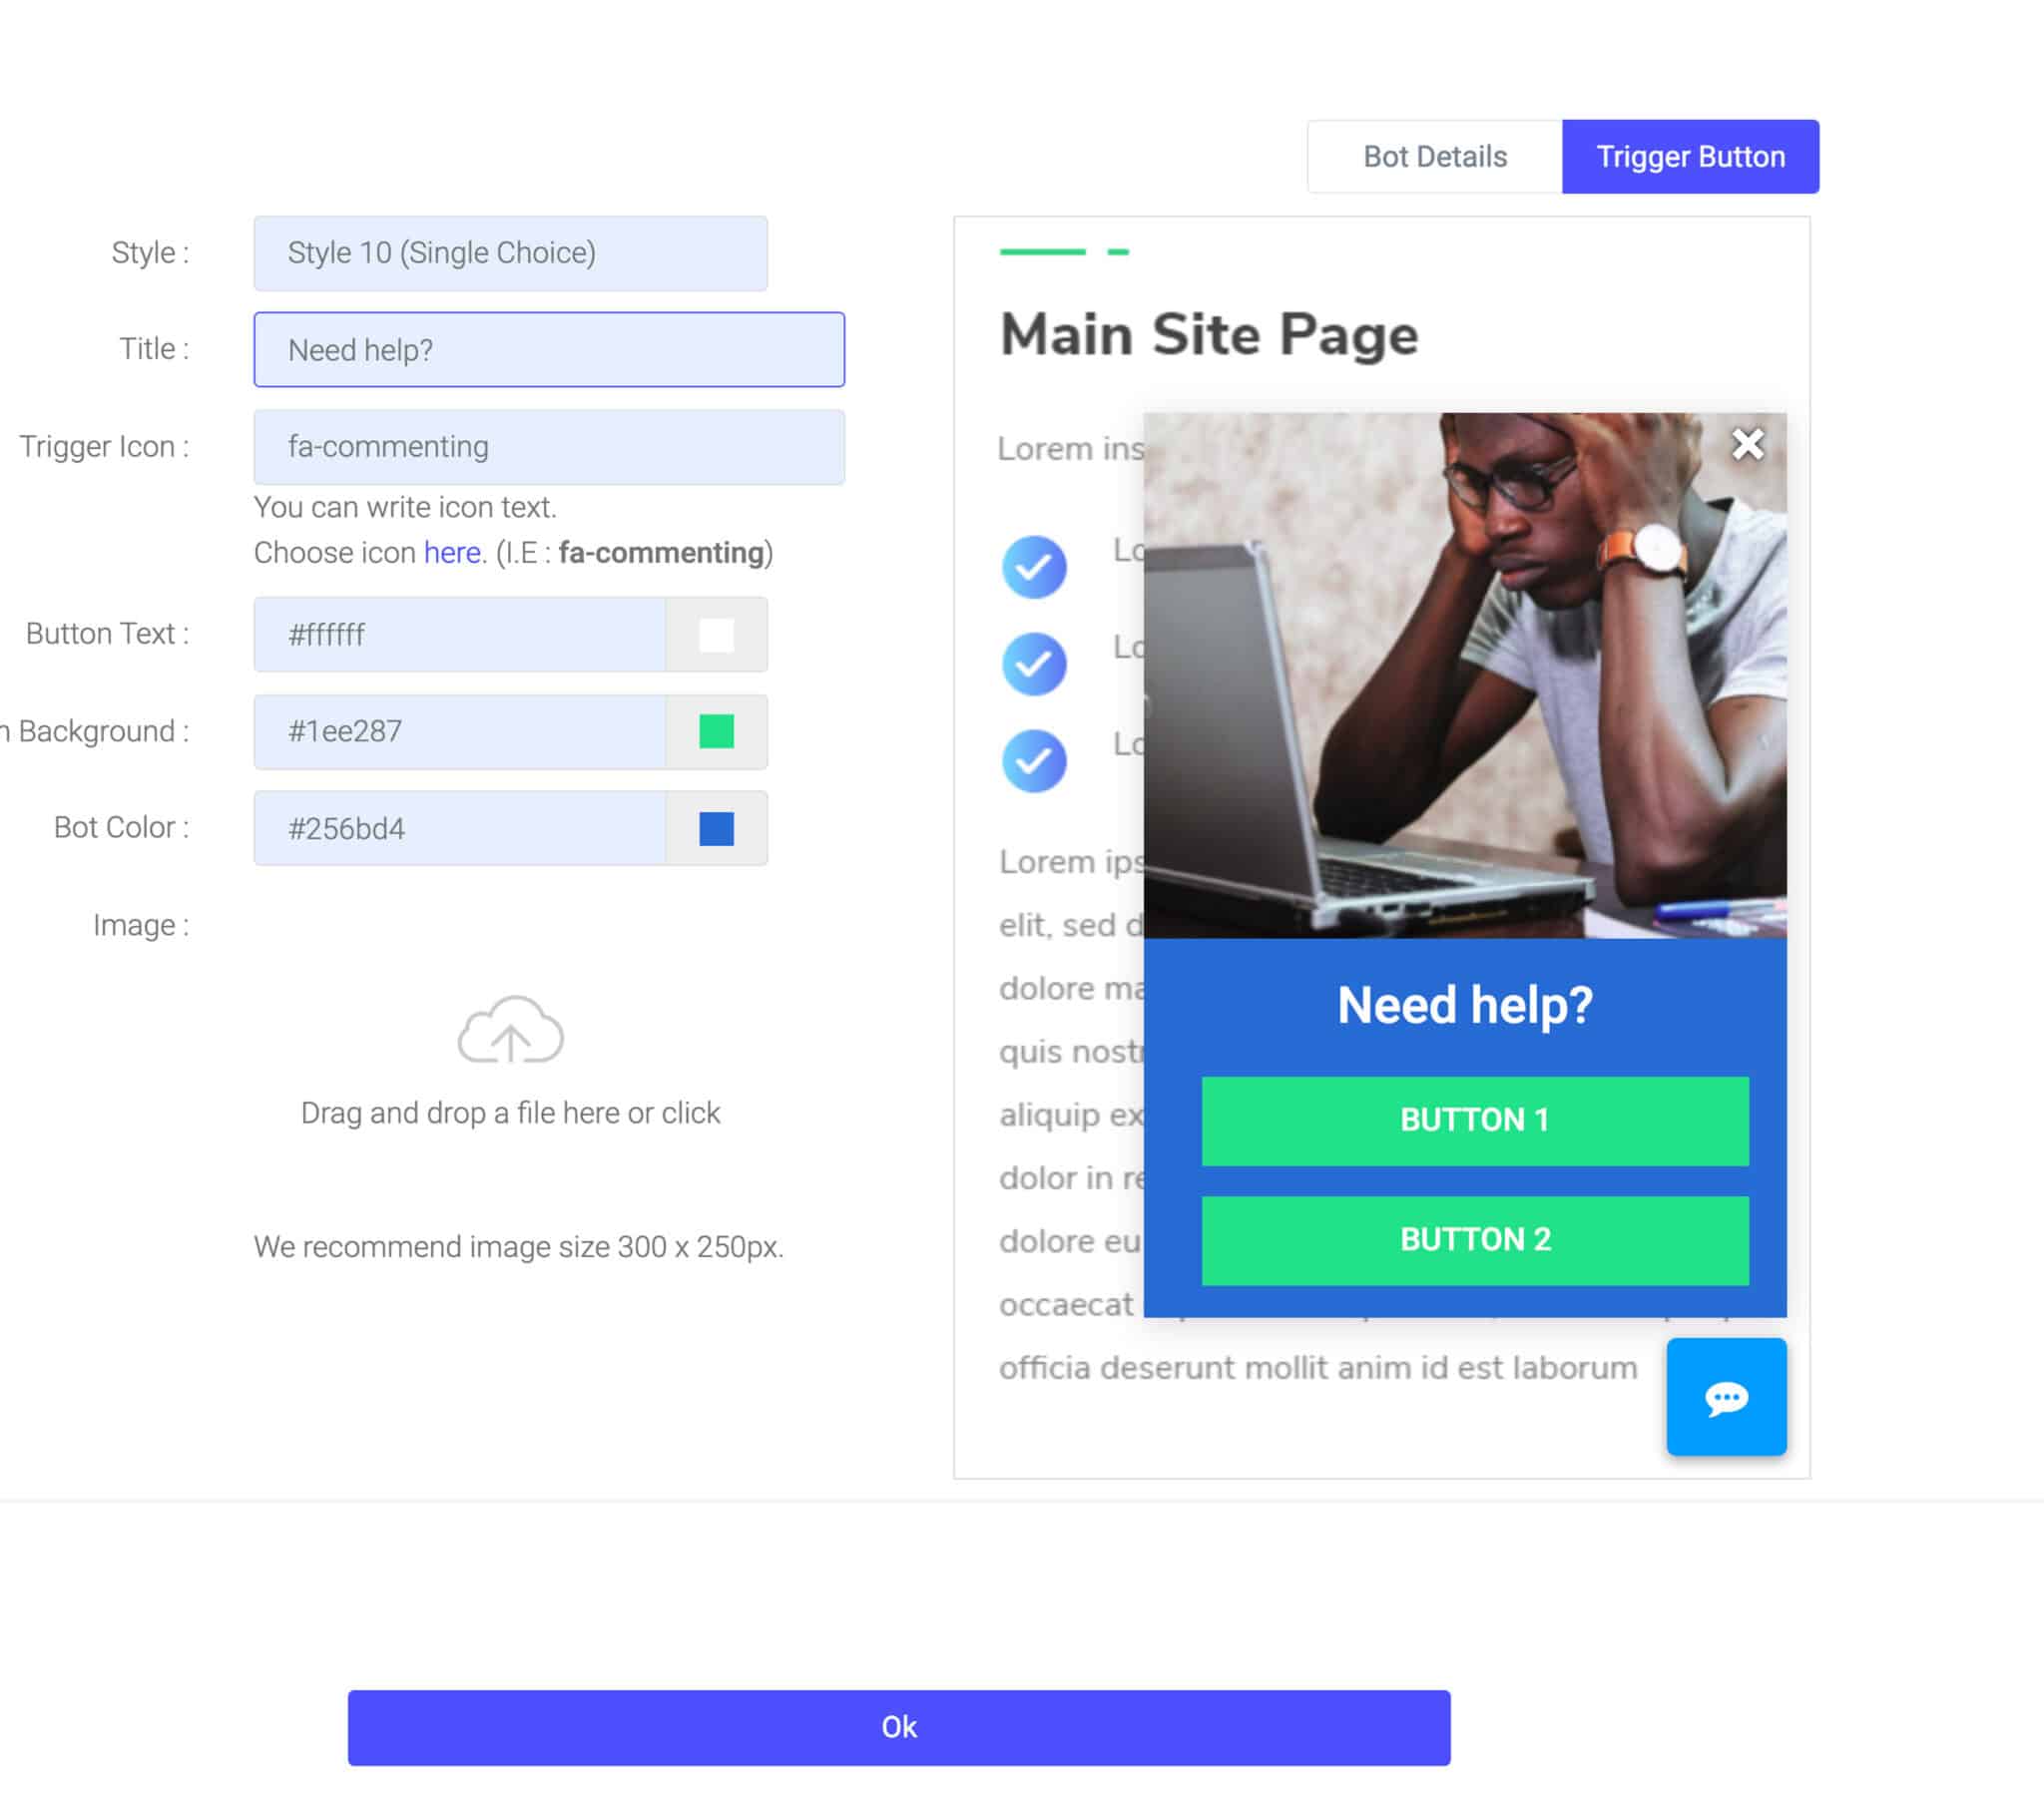
You can choose between different chatbot styles in the “Trigger button” tab of the Chat settings. !Please note that Generation 2 bots don’t yet allow the full selection of Chatbot styles. Stay tuned, these will be added soon!

Remember, no matter how awesome your conversation thread is, it won’t have much effect if nobody sees it – so put some time and thought into defining your trigger settings!
Please give us a thumbs up below if you found this article helpful!