Leadoo’s bot conversations are build with different nodes. With these nodes you can use to personalize your conversations. In this article we explain what are the different node types and how you can use them.
There are 18 different node types which you can use to personalize your conversations.
- BotSays
- Single Choice
- Multiple Choice
- Dropdown
- Open field
- Calendar
- Logic router
- Advanced Logic Router
- Calculator
- Send to URL
- Phone
- Name
- Company
- Location
- Form
- Attachment
- Livechat
Bot Says – For when you want to ‘say something’ without offering an option and will load the next part of the conversation straight afterwards.
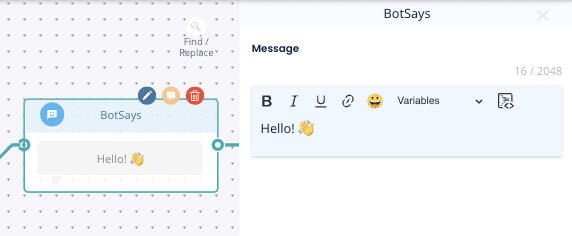
Single Choice – When you want the visitor to select only one choice which can then branch off to different pathways or the same.
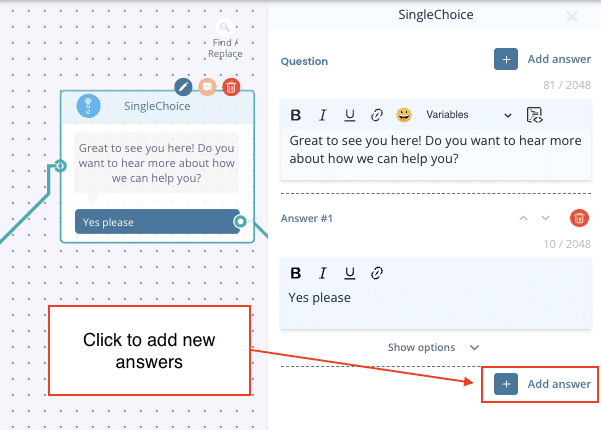
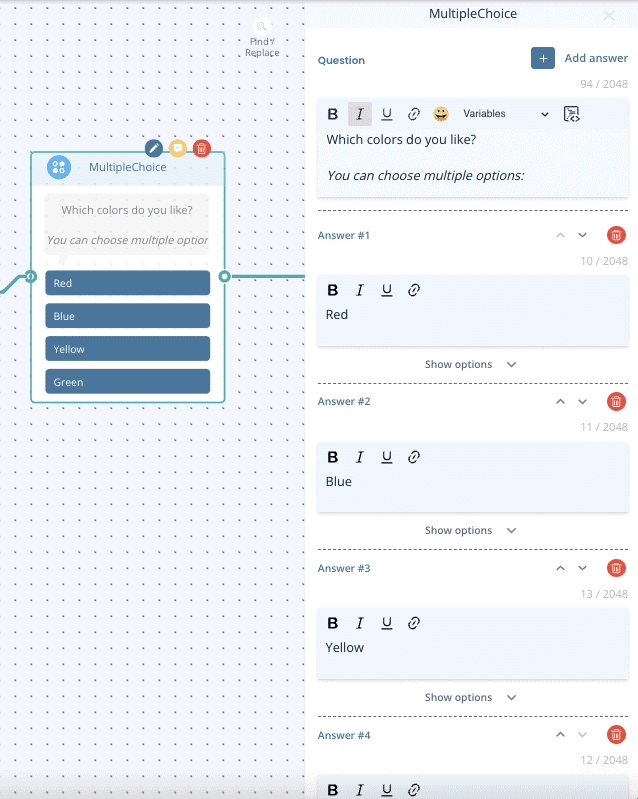
Multiple Choice – When you want the visitor to select multiple options and continue down one path afterwards.
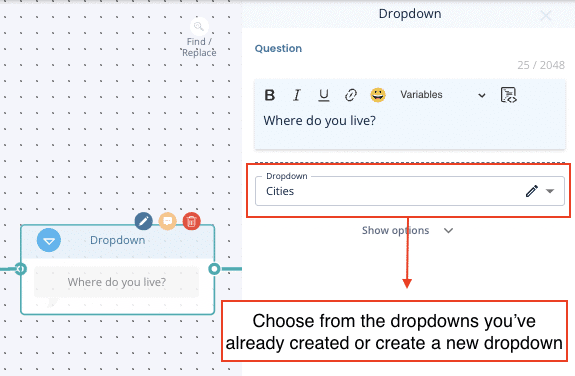
Dropdown – This is useful when you have a long list of options for the visitor to choose from such as location. To use this you must have already created and saved a dropdown list.
Find out how to add dropdown lists here.
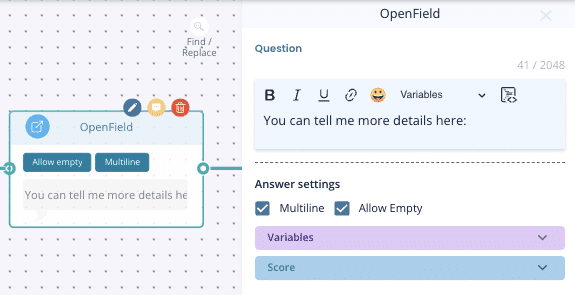
Open field – Adds a box with an open text field for the visitor to complete
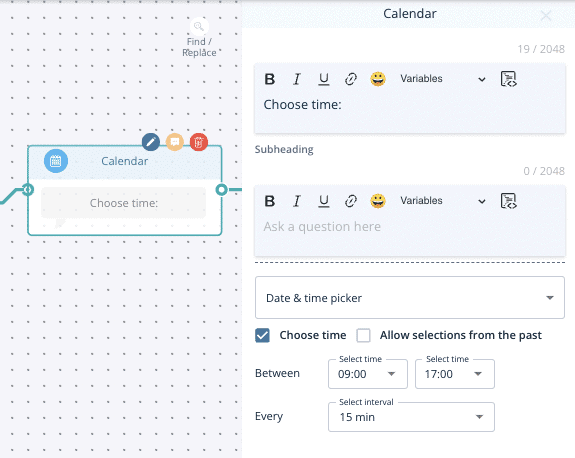
Calendar (Date & time picker) – Visitor can choose the date and time freely from the calendar. The time slot they picked won’t be synchronized to any calendar, so this node is just for picking a time.
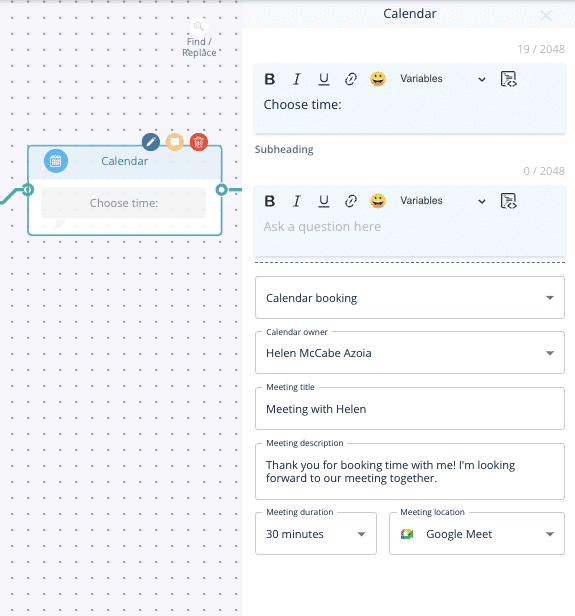
Calendar (Calendar booking) – Visitor can book a meeting straight from your calendar that has been integrated and synchronized with Leadoo. Calendar Booking makes sure to check you calendar and only shows time slots that are available.
You can read more from here: How to sync your calendar with Leadoo
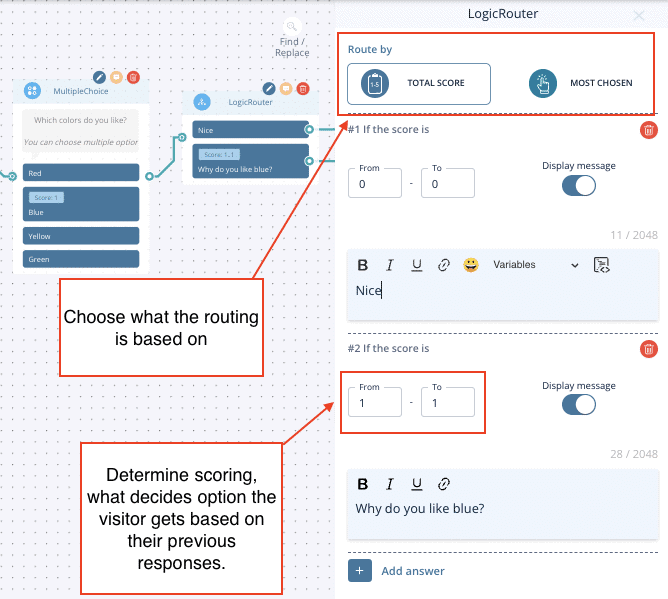
Logic Router – Use this to determine what option the visitor gets based on their previous responses. This could be via a scoring method or by label.
Using scoring – You will need to add a score to each answer from previous single choice nodes to determine the result here, then set the score you want to determine which result.
e.g. If visitor scored 1-10 they get answer #1, if the score 11-20 they get answer #2.
You can use this to decide if a candidate gets through to the end of an application, or if you want to give a suggestion based on a visitors preferences.
Using labelling – You can also determine a result depending on what labels were most chosen on the single choice options beforehand.
e.g. Visitor selects 3 answers from previous questions, 2/3 of those had the label ‘red’ so they will then see the calculator result for red.
Learn how to set-up labelling here.
Advanced Logic Router – More info here: Cheat sheet: Advanced Logic Router Operations
Calculator – More info here: Creating Dynamic Variables for Calculator and Advanced Logic Router Nodes
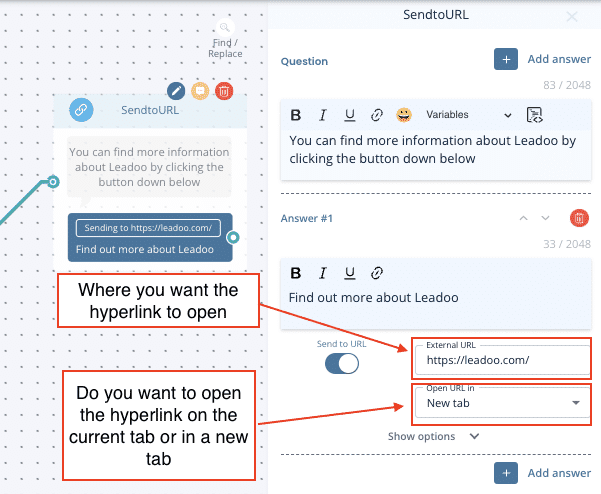
Send To URL – The same as Single Choice but allows you to hyperlink a button to another URL
External URL – is where you want the hyperlink to open
New tab = open in new tab
Current tab = open in the same tab
Standard contact nodes include: Name, Email, Company name & Phone number
Grouped contact nodes
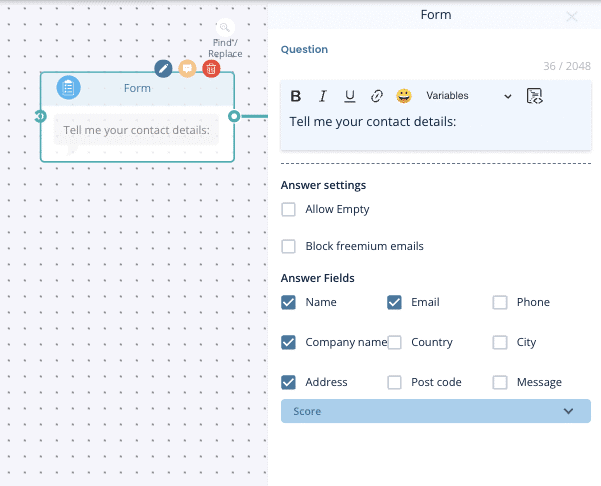
Contact – You can collect all your visitors details in one go and select from: name, email address, phone number, company name, country, city, street address, zip code and an additional message.
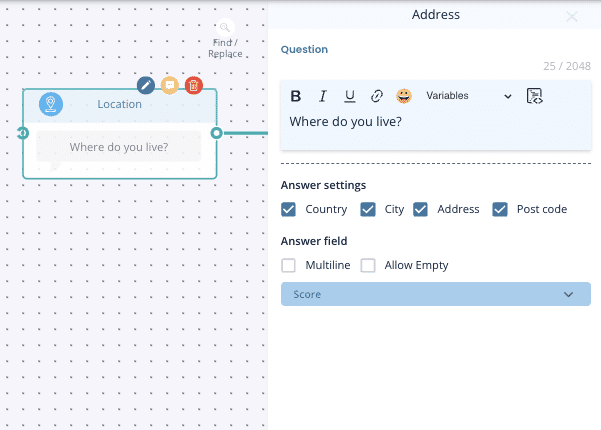
Location– Select which options you want including: country, city, street address & zip code
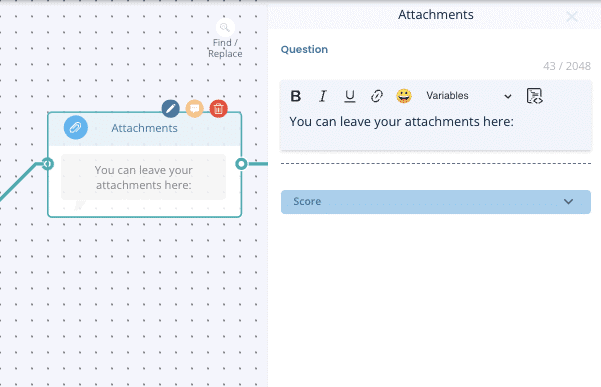
Attachments – Use this to allow visitors to upload documents or images. E.g. a CV or supporting information for IT support.
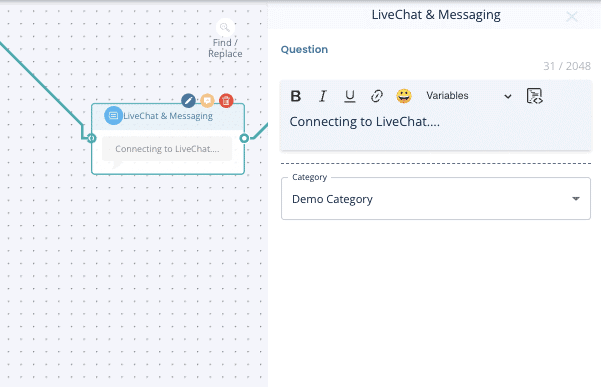
Live Chat – Leadoo live chat can be initiated through single choice options but if you want to add other messaging options too (WhatsApp & Facebook Messenger), you can use the live chat node instead.
TIP – Make sure you still have automated dialogue too so that if there are no agents online your visitor can still get in touch.
Find out how to set-up and use live chat here
Questions?
Contact your Customer Success Manager at Leadoo at [email protected]