The Visual Bot Builder is your all-in-one workspace for building Chatbots, InpageBots, and VisualBots. Using drag-and-drop features, along with convenient keyboard shortcuts and quick tools, you can effortlessly create and customise decision trees to guide user interactions.
In this article, we’ll walk you through the essentials of building your first bot, so you’ll have a solid foundation to get started. For a breakdown of each node type, check out our guide here.
Bot Building Basics
Watch Senior Technical Account Manager Gavin and Onboarding Development Manager Helen share expert insights in the on-demand webinar below, or continue reading for a step-by-step guide.
Bot Editing Tips & Tricks
For quick tips and time-saving shortcuts in bot editing, simply watch the video below:
Building Your First Leadoo Bot: A Step-by-Step Guide
Creating a Bot from Scratch
Select Your Bot Type
Decide if you want to build a Chatbot, InpageBot, or VisualBot. Navigate to Conversion Kit > InpageBot/Chatbot or VisualBot on the left-hand menu.
Build Your Bot
Click + Build new bot > Build from scratch to access a blank workspace. Start by naming your bot.
Moving Around the Workspace
If you’re using a laptop you can use your usual trackpad gestures to move around and zoom in and out. If you are using a keyboard & mouse here are two essential shortcuts you need to know about.
- Moving around the workspace – Right Click+Drag
- Zooming in and out – Cmd/Ctrl+Scroll on your mouse
Adding Nodes to the Workspace
There are a few methods to add nodes:
1. Drag & Drop
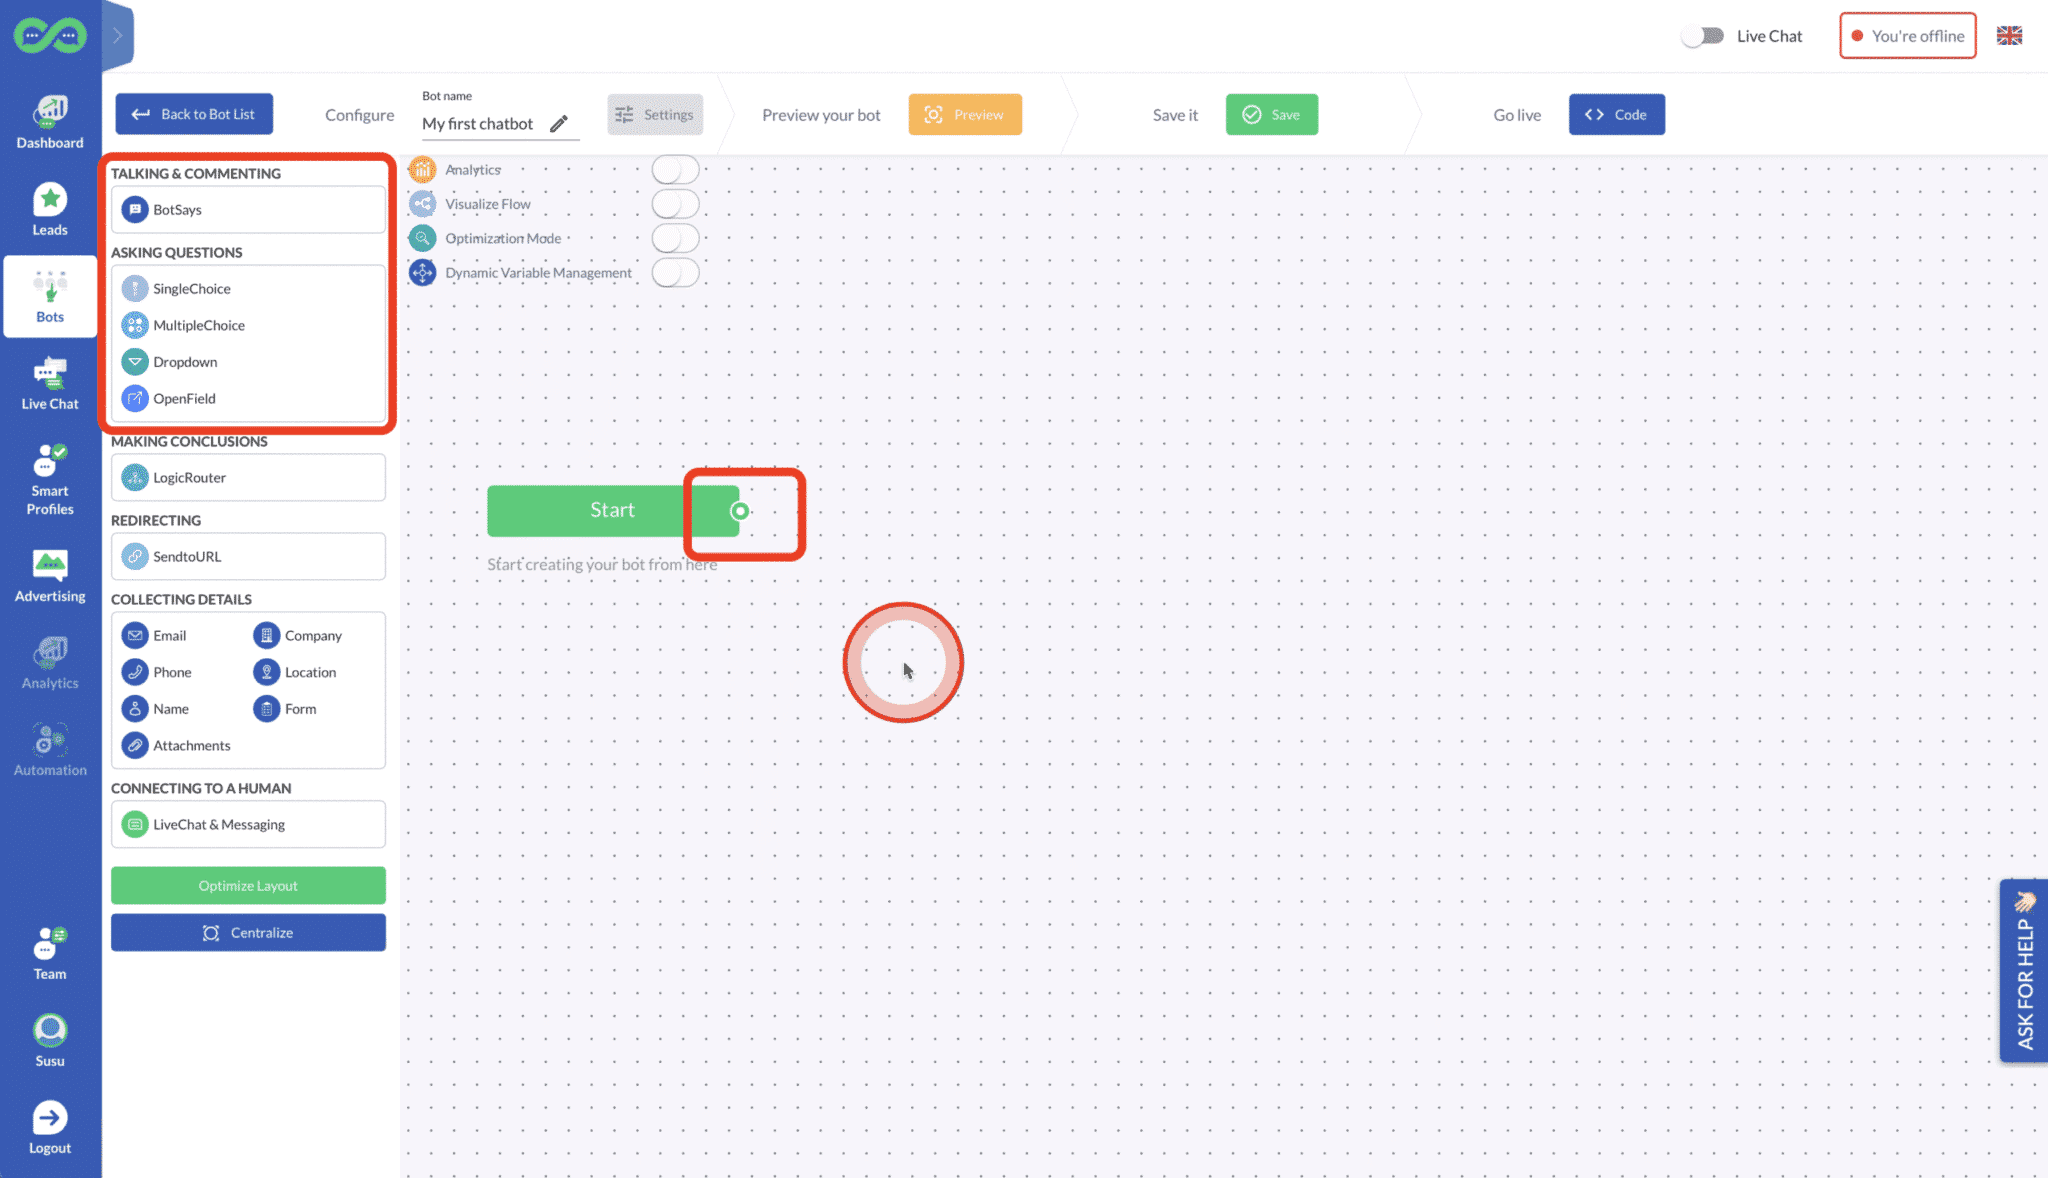
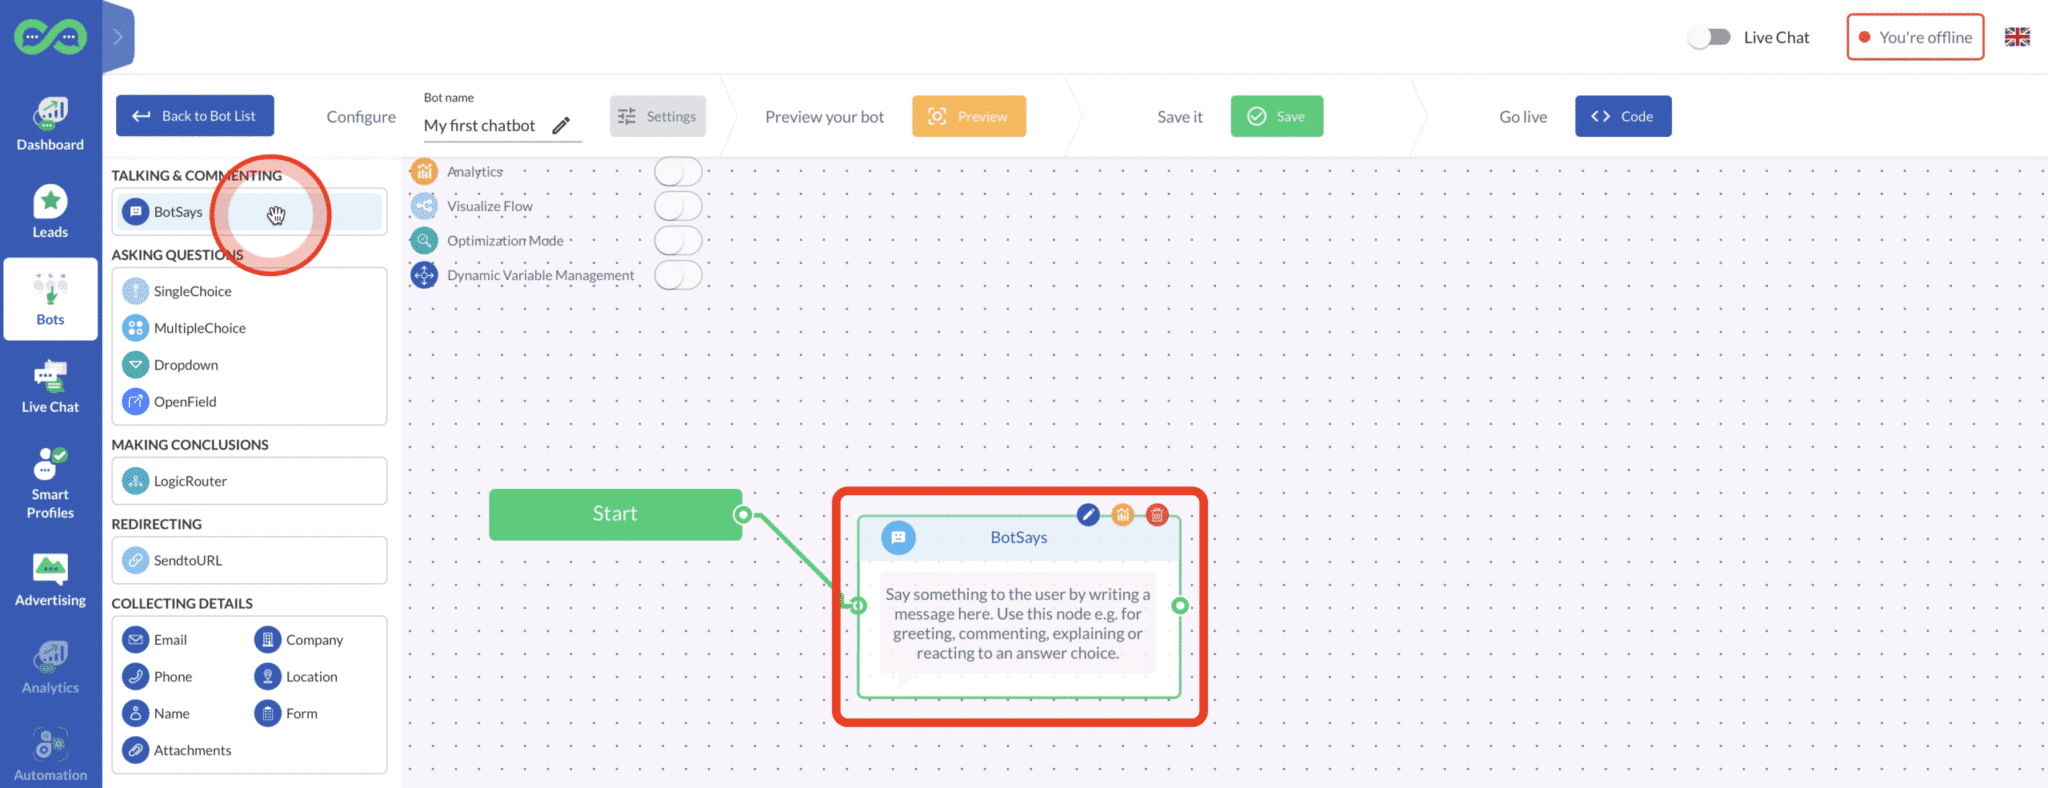
Simply drag a node from the menu on the left into your workspace.
2. Quick-Add
Click and hold the circle on the right of any node, drag it to an open space, and release to open a node menu. Choose the desired node type, which will connect automatically to the starting node.
Building the Conversation: Key Tips
1. Get Inspiration
Start by exploring pre-built bots for ideas. Check out the Tips & Tricks video above to learn how to copy+paste nodes from one bot to another or even duplicate entire bots.
2. Plan Your Conversation Flow
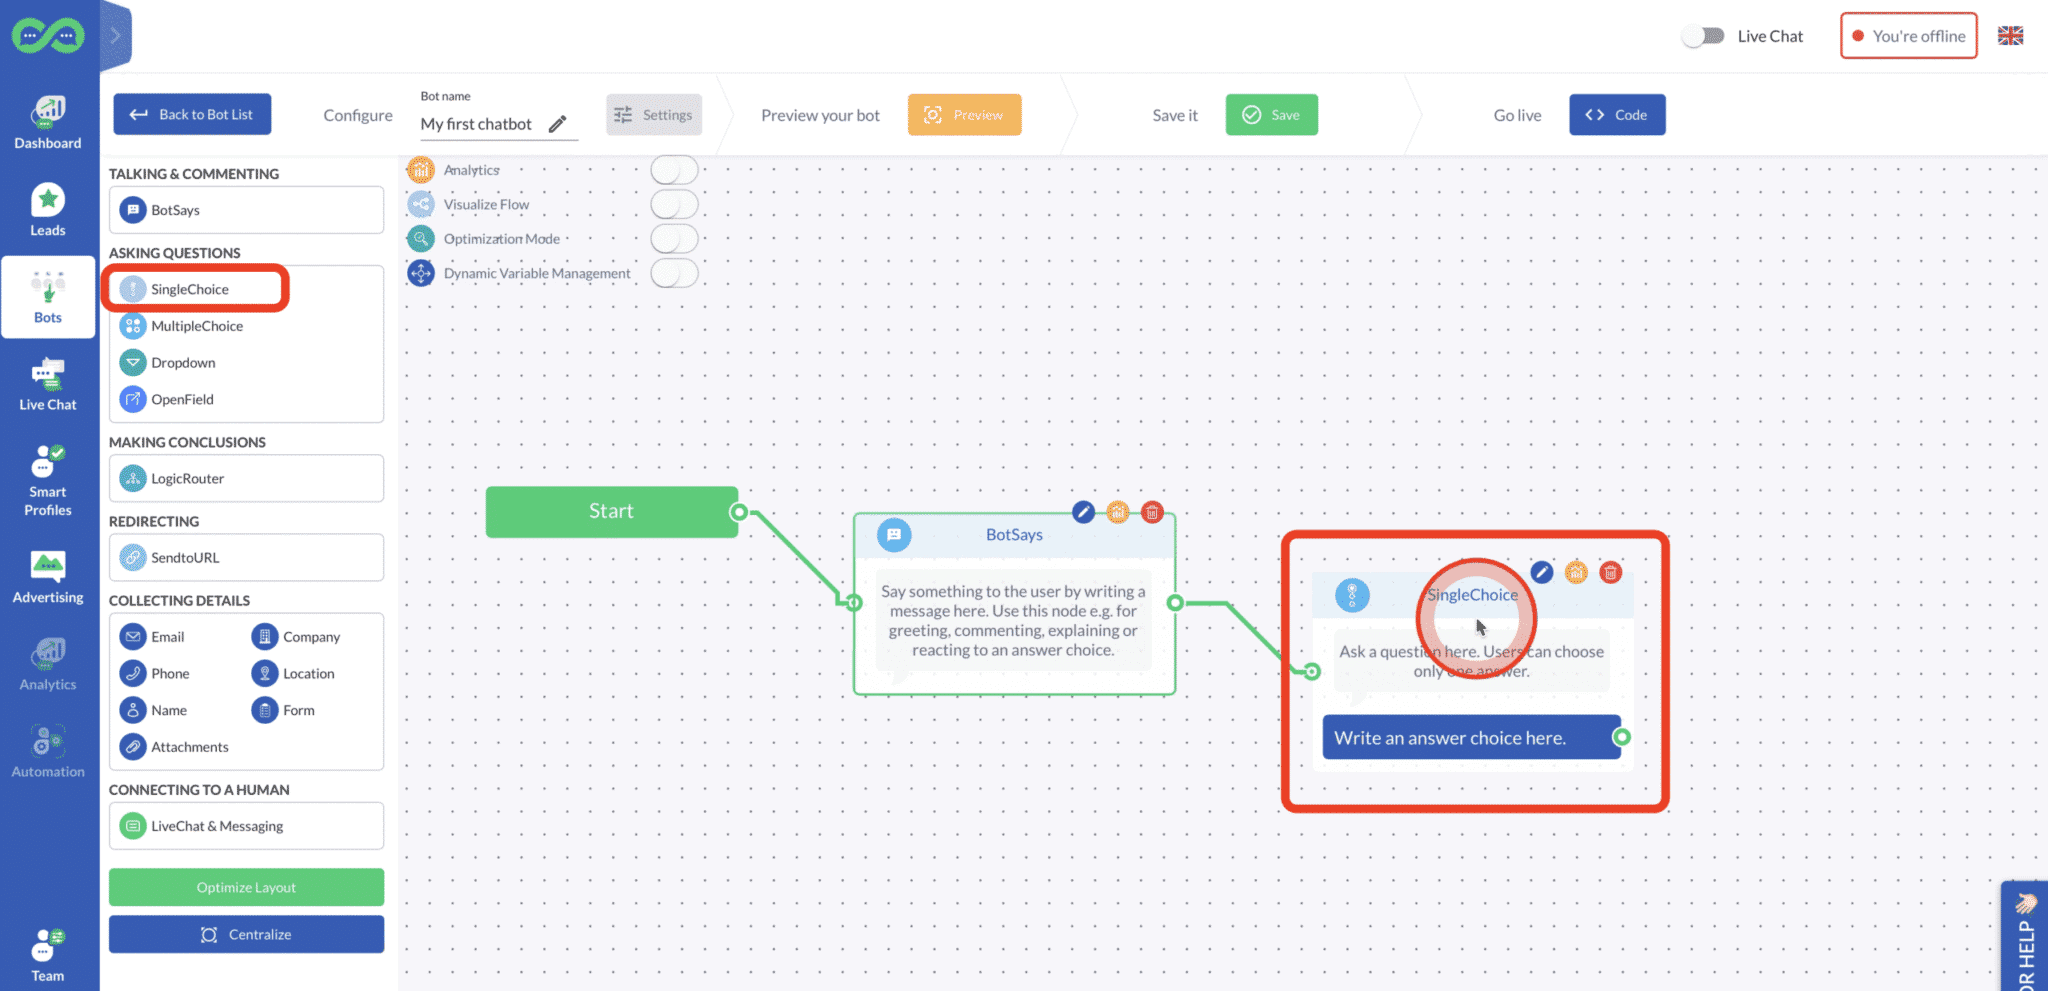
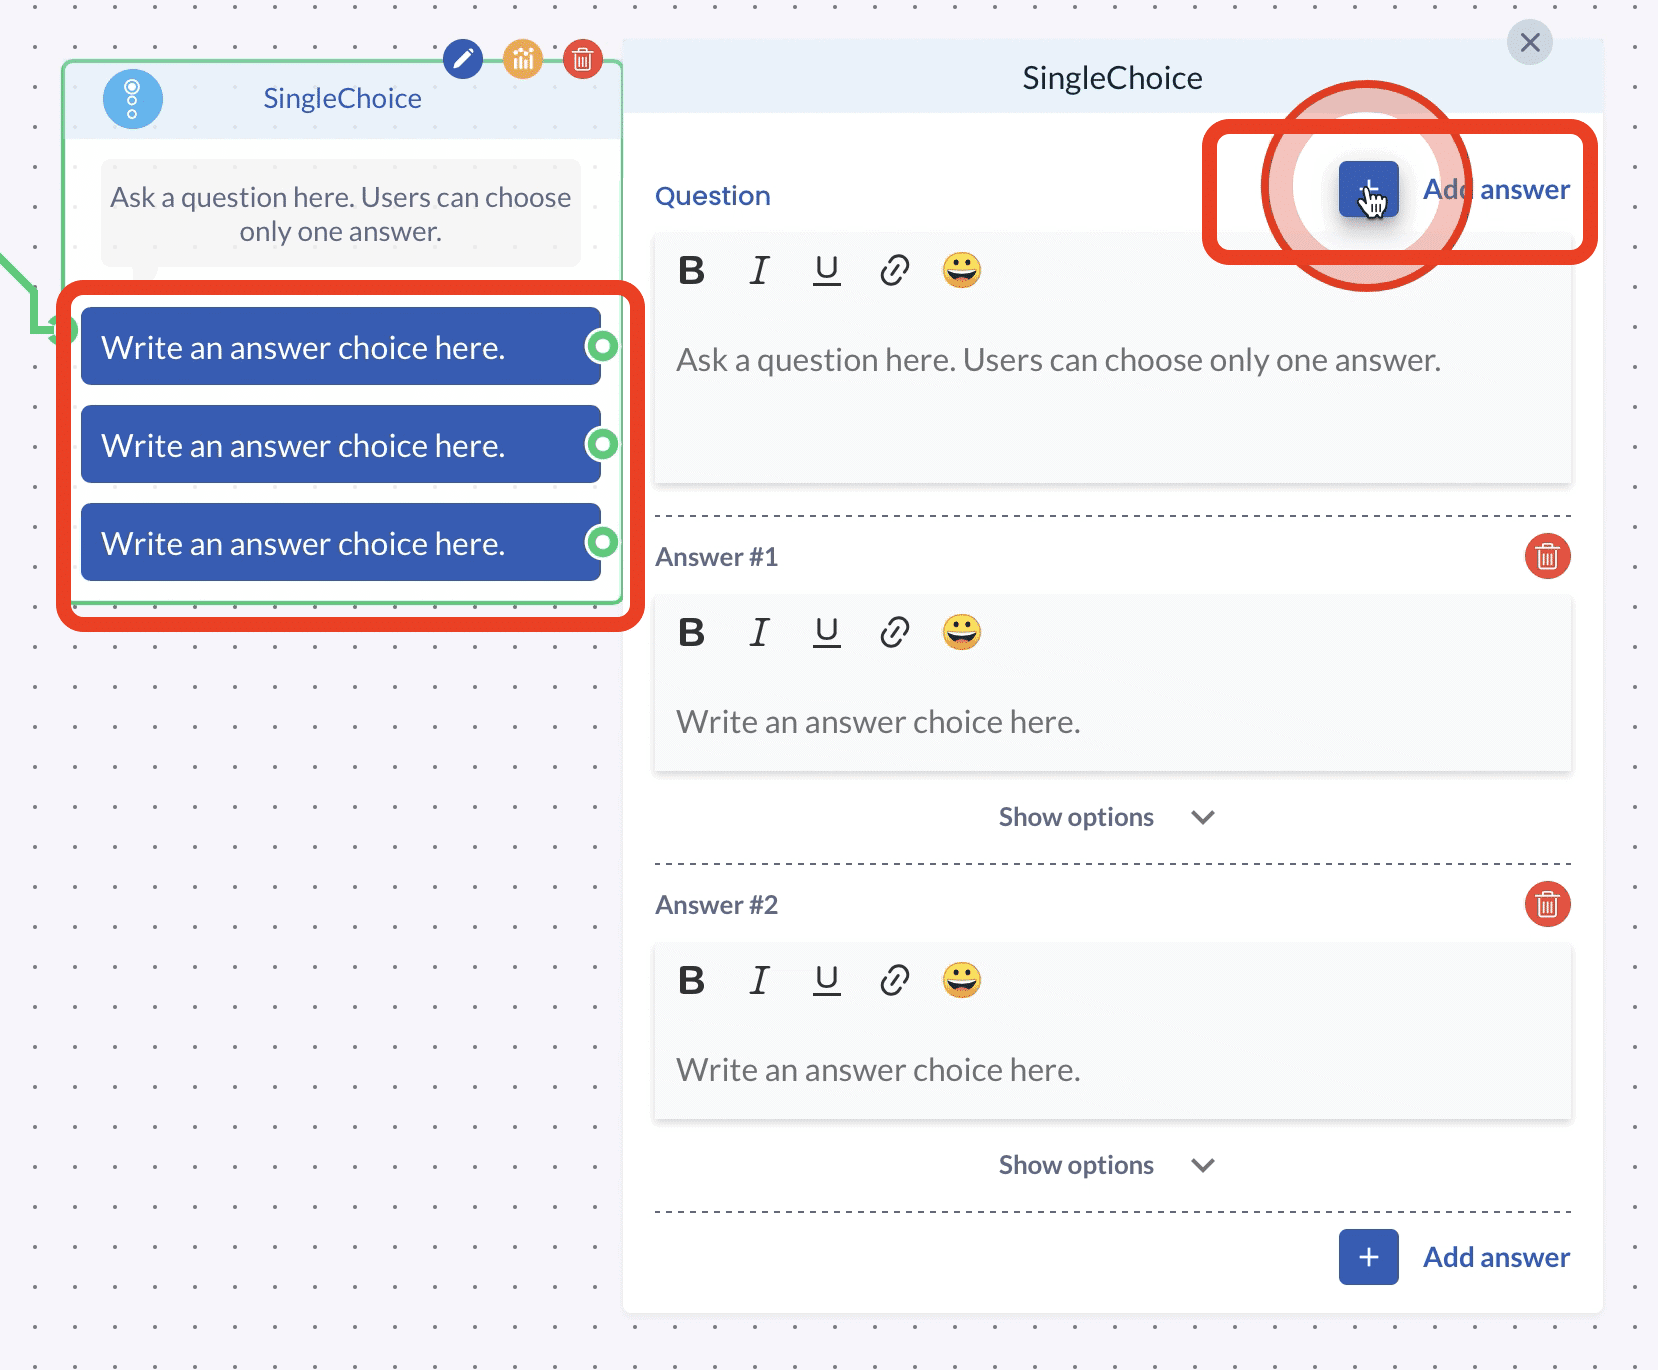
Use the Bot Says node for introductions, and connect it to a Single Choice node to guide users. Offer varied options to serve different user needs. For example:
3. Avoid Dead Ends
Always provide multiple choices and avoid abrupt stops. If asking, “Are you ready to book a demo?” provide options like “Yes, I’d like to book a demo” and “Not yet, tell me more about Leadoo Insights.” Including an Ask a question option also encourages customers to reach out.
4. Add Value
Design conversations that go beyond your website’s content. Make information easier to find or offer downloadable resources in exchange for contact details.
Collecting Contact Info
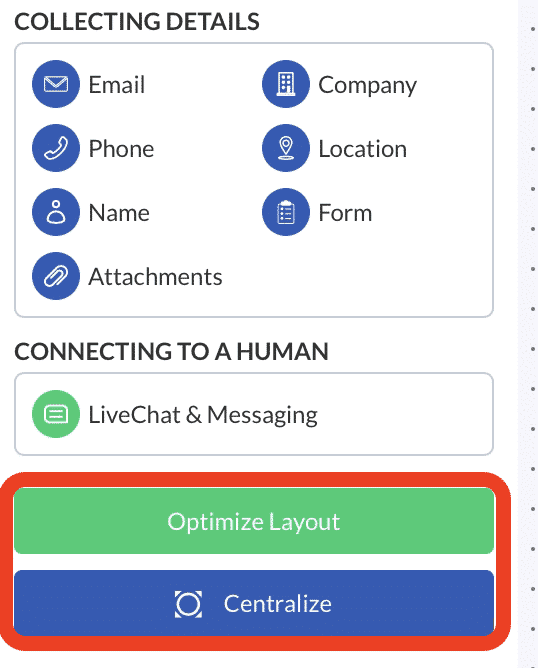
Leadoo offers flexible options for capturing visitor details. Start with essential fields, like Name and Email, to secure key information without overwhelming visitors. For more qualified leads, gradually collect additional data by splitting questions across nodes. This keeps the experience smooth and prevents form fatigue, helping you gather necessary information while maintaining visitor engagement.
Consider collecting only what’s essential to follow up, creating a frictionless path for conversions and improving the overall lead experience.
Saving Your Bot
Leadoo bots don’t autosave, so remember to save manually by clicking Save at the top of the page. Exiting without saving will trigger a reminder pop-up.
For further settings and embedding instructions, check out Bot Settings, Bot Styles and Embedding Bots.