
Pricing Get a demo

Leadoo is fully GDPR compliant. In addition to complying with the regulation ourselves, it is important for us to help our customers with their compliance efforts. This goal is achieved through training, instruction, and technical development of our software. See our full GDPR statement here

In essence, you can decide for yourself how to use Leadoo – you can use it in fully anonymous mode, in which case no marketing tracking is done. Most often, however, you will want to use it for marketing and analytics purposes – just like you’re using Google Analytics today – and this requires permission from the user. Leadoo bots can do this for you, or your own website can ask for consent and hand over that information to Leadoo.

When you start using the Leadoo service, your customer success manager will help you ensure that your website complies with GDPR.

For our own site, Leadoo.com, Leadoo operates as both the Processor and Controller for the data. However, for our customer’s sites, we only operate as the Processor. To understand what this means you can go to the specific explanation in our Privacy Policy here.

If you want to know more in-depth how we keep your data safe read this.

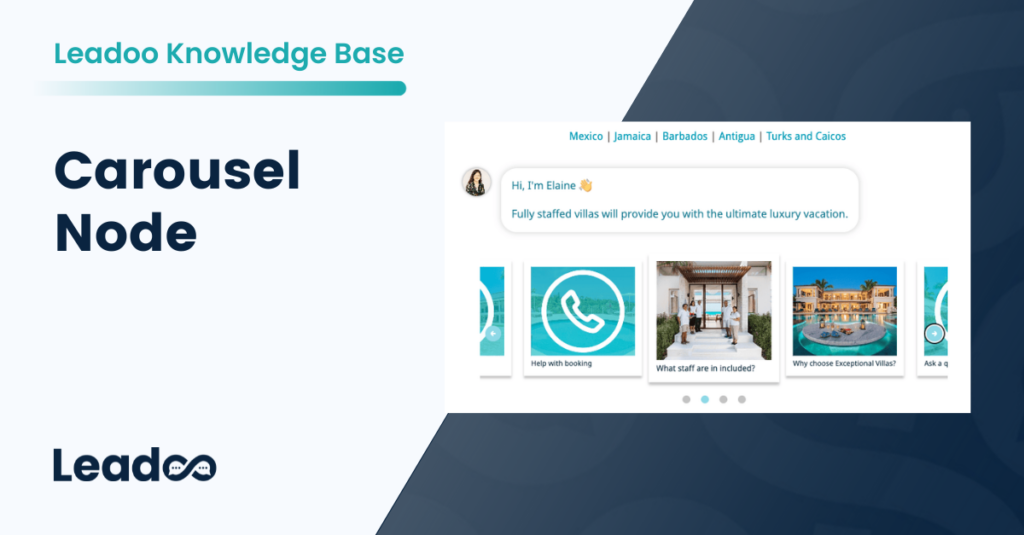
We’ve added a new node for Inpage and Chatbots to help highlight your products and services and also engage visitors better by using all the lovely imagery you’ll have at hand!

Don’t worry if you don’t have the images or even if you would prefer a text based slider type node, there’s a few different variations to choose from:

Text card – This allows you to use a carousel style picker with only text. It’s great for listing services and giving a little more detail about them.

Visual card – The visual excels when you’re trying to convey a product/service with a stunning image. But that’s not all, it can also be used for selecting locations and product selectors where you don’t need as much text.
Product card – With the product card you can add images and lots of product information. Great for listing product features and pricing.

Let’s get building!

Now you know what each type can do, let’s look at how to create your own carousel node. There are a few common options across all nodes, so let’s cover them first.

Question: Similar to a single or multiple choice node, you’ll need to start off with a question.

Single vs multiple choice: Allow users to select more than one option before continuing.

Card template: Choose between text, visual and product cards. You can swap this at any time, however it will remove all your current cards and start with a blank slate.

Number of cards: Choose the number of cards you’d like to display to your visitors.

Exit action: This is an option for users to not select any of the answers and move on. It’s great for adding an ‘I’m not sure’, or ‘Speak to a specialist’ call to action here.

Each textbox will perform in a similar way to the other nodes you’re used to in Leadoo, so you can add a send to URL option, labels and variables etc. Now we’ve covered the basics, we can move on to each card type. Starting with the text card

Building a Text Card Carousel Node

Once you’ve decided on the text card and how many cards you’d like to use, it’s time to add your content. 

You’ll have two text boxes to use. Text #1 would be used as a header and Text #2 would be the subheader. In the example below we’re asking the visitor to choose which service they would like and we’ve used the text boxes to give the name of the feature and a brief description of what it does.

Once you’re happy with the cards you can then choose the next step in the customer’s journey. 

Building a Visual Card Carousel Node

The visual card is very similar to the text card but now we can add some lovely imagery to help support the text. You’ll still have the header and subheader text boxes but you can either upload an image (recommend dimensions are 482x300px) or you can add a URL and it will pull in the image from there, this is a great option if your image is hosted online rather than as a file.

Building a Product Card Carousel Node

Moving on the product card is where things can get a bit more advanced because you have more text options to choose from to help give visitors more information about your product or service. In the example below we’re using the Leadoo pricing options to show you how it works.

Text #1: Great for displaying the product name.

Text #2: This could be used for listing the price or creating urgency by listing the amount left in stock.

Text #3: Can be used for additional information about the product, similar to a subheader

Text #4: Another area to add more product information.

Button: The main call to action, make this clear and compelling!

Not all of these fields are required, you only need Text #1 to create your product card.

Customising the look of your Carousel Node

You’ll have access to a robust style editor when creating your carousel node. Simply open up the style settings and click on the Card option to get started. From here you can edit every aspect of the card, including:

Hope you found this useful and are now ready to start building your own carousel nodes! If you need any assistance please get in touch with your Account Manager!

Within your Leadoo accounts you’ll find four default user types you can choose from along with the option to create custom roles for greater flexibility and control.

Owner

By default, the owner of your account will be set as the person who signed the contract. There can only be one owner so if you need this to be updated please contact your Onboarding or Customer Success Manager.

Owners will have full admin access

Admin

You can have multiple admins on your account. They will have access to everything in the platform included in your subscription.

Member

This will give users access to most of the platform but with limited access to update settings and add users to the account.

This includes:

Conversion Insights: Access Bot insights, Company identification, Livechat insights, Source insights and Journey insights

Automation: Manage Workflows

Bots: Bot access, Basic bot management, Style management

Leads: Manage leads

AI: Manage knowledge base

Agent

This role gives users access to live chat only.

How to create a custom role

You may want to create custom roles for members of your team to give them access to the areas they need whilst restricting certain parts of the platform. 

For example, you might want the sales team to have access to some of the Conversion Insights and Leads area along with Live Chat. 

1. To create a custom role navigate here https://app.leadoo.com/team/roles-permissions
Don’t have access? Reach out to your Onboarding or Customer Success Manager.

How to create a custom role

2. Select the areas you want that role to have access to. 
Make sure you tick the box for “Access to main dashboard’ otherwise, the users may see a blank page when they log in.

Setting custom permissions

3. Go to https://app.leadoo.com/team/members to invite a new user to the account using the new role.

Click ‘Invite member’ and select your new role from the list.

How to add a team member
How to add a team member step 3

That’s it! You can update the permissions of this role at any time. 

You can change your Bot Icon and Bot nickname from individual bots settings.

Navigate to the bot you want to change the icon.

When you’re in the Conversion Kit and have found the bot you want to edit click Actions and select Settings


*You can use the search field to find specific bot by searching either the bot name or the bot id found on the embedding code

On the General tab you can see Bot Icon and Bot nickname next to each other.


Adding a team member step 4

You can use predefined bot icons or upload a photo from your files to use as your bot icon. Make sure that the photo you upload is a square (ie. 200px x 200px) and that the photo is .png .jpg. or .jpeg

You can also give the bot a nickname that will be visible on chatbots header. This name will be shown to anyone who starts a discussion with the bot.

Make sure to save any changes you make.

If you have any issues or need help you can contact [email protected]

Leadoo is fully integrated to Google Tag Manager, meaning that custom events can be triggered for every interaction any visitor does with Leadoo chatbots. Here’s how to implement Google Tag Manager to work with Leadoo.

1. Add your Google Tag Manager container ID to your Leadoo admin panel

You can find your GTM container ID after logging in to Tag Manager. Copy your GTM container ID.


After that log in to app.leadoo.com/sign-in

Go to Conversion Kit -> General bot settings -> Advanced

Add your GTM container ID to the Google Tag Manager Code field
*In most cases you can leave GTM data layer property field empty.

After this has been set your bots will start sending events.


2. Open Google Tag Manager

Click Admin

On the right hand side open Import Container


You can download the correct file from here.

Click Choose container file

Add Leadoo-GA-GTM-Template.json file


Choose existing workplace

After this choose an import option. You can merge conflicting tags, triggers and variables

Submit new tags, triggers, variables and templates

Go to Tags -> Add your Universal Analytics variable to the tags you’ve just created -> publish changes

You’ve now connected Leadoo to your Google Universal Analytics

If you need any help setting up the integration you can contact [email protected]

Leadoo is fully integrated to Google Tag Manager, meaning that custom events can be triggered for every interaction any visitor does with Leadoo chatbots. Here’s how to implement Google Tag Manager to work with Leadoo.

1. Add your Google Tag Manager container ID to your Leadoo admin panel

You can find your GTM container ID after logging in to Tag Manager. Copy your GTM container ID.


After that log in to app.leadoo.com/sign-in

Go to Conversion Kit -> General bot settings -> Advanced


Add your GTM container ID to the Google Tag Manager Code field
*In most cases you can leave GTM data layer property field empty.

After this has been set your bots will start sending events.

2. Open Google Tag Manager

Click Admin

On the right hand side open Import Container


You can download the correct file from here.

Click Choose container file

Add Leadoo-GA4-Template.json file


Choose existing workplace

After this choose an import option. You can merge conflicting tags, triggers and variables

Submit new tags, triggers, variables and templates

Go to Tags -> Add your GA4 configuration tag to the tags you’ve just created -> publish changes

You’ve now connected Leadoo to your Google Analytics 4

*If you haven’t connected GTM and GA4 you can connect the two applications. In your GTM container, create a new tag using the following steps:

  1. Click New Tag
  2. Label your new GA4 Configuration Tag
  3. Choose the Google Analytics: GA4 Configuration
  4. Input Your Measurement ID from GA4*
  5. Click the box “Send a page view event when this configuration loads”
  6. Click save

* You can find Measurement ID from GA4 under Admin -> Data Stream -> click account -> copy Measurement ID

If you need any help setting up the integration you can contact [email protected]

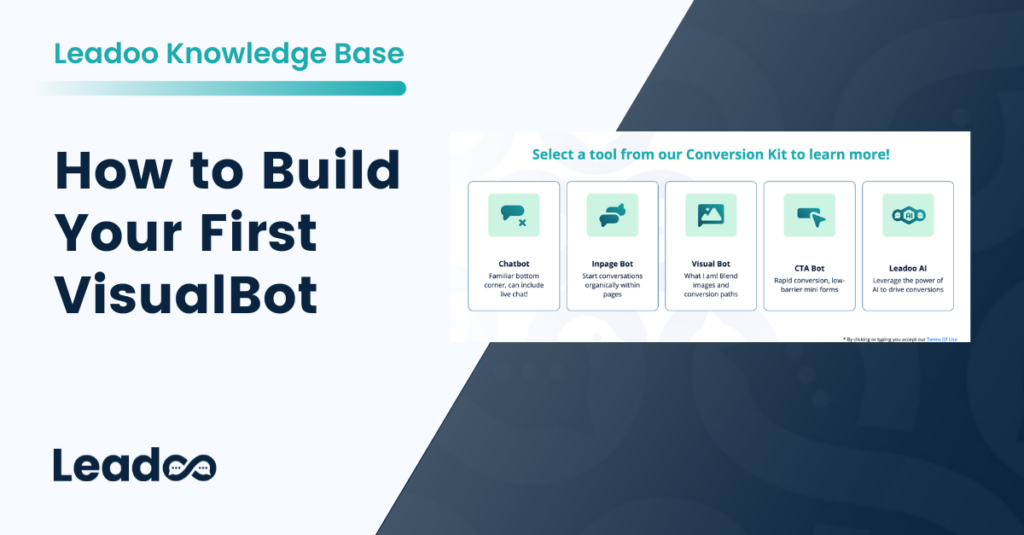
Visual Bot Builder:
Bot Editor Nodes Explained