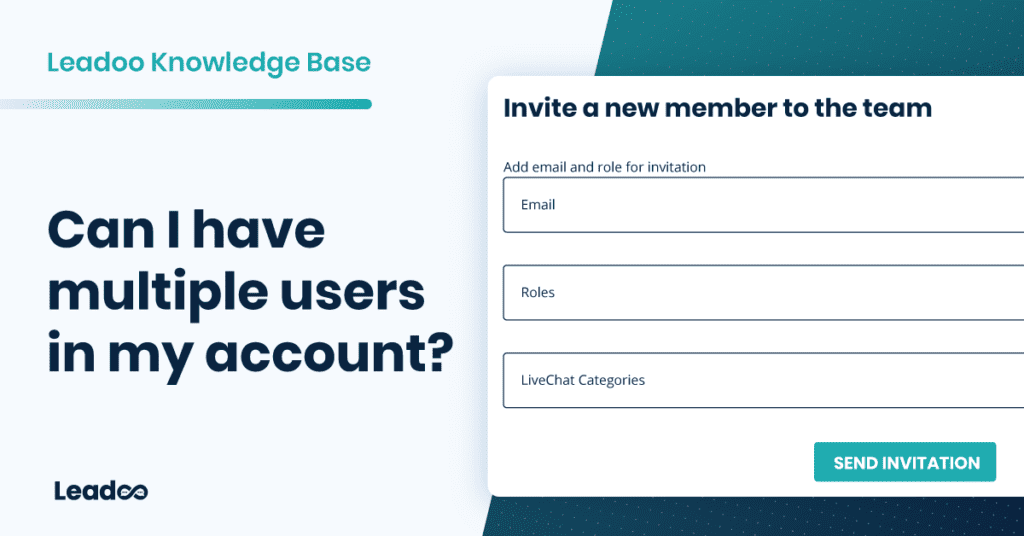
There can be only one owner in your Leadoo backend. This is the person who has signed your contract. This person has access to the whole platform, can view, create and edit the bots, can view all the analytics and profiles, can edit settings and bot UIs and can manage users. They can also use Live Chat.
There can be multiple admins in your Leadoo backend. They have access to the whole platform, can view, create and edit the bots, can view all the analytics and profiles, can edit settings and bot UIs and can manage users. They can also use Live Chat.
There can be multiple member-level users in your Leadoo backend. They have access to edit and create the bots and view the bot analytics. They can also use Live Chat. They cannot access platform settings, edit bot UIs or manage other users.
Conversion Insights: Access Bot insights, Company identification, Livechat insights, Source insights and Journey insights
Automation: Manage Workflows
Bots: Bot access, Basic bot management, Style management
Leads: Manage leads
AI: Manage knowledge base
Agent-level users have only access to the messaging platform (Live Chat). They cannot view or access other features of the platform.
Read this article on how to create custom user types for greater control.
Building chatbots with Leadoo AI’s Visual bot builder is easy. In the following article, you’ll learn how to build a simple chatbot that asks the user about their needs and then converts them into a lead.
Outline of the example
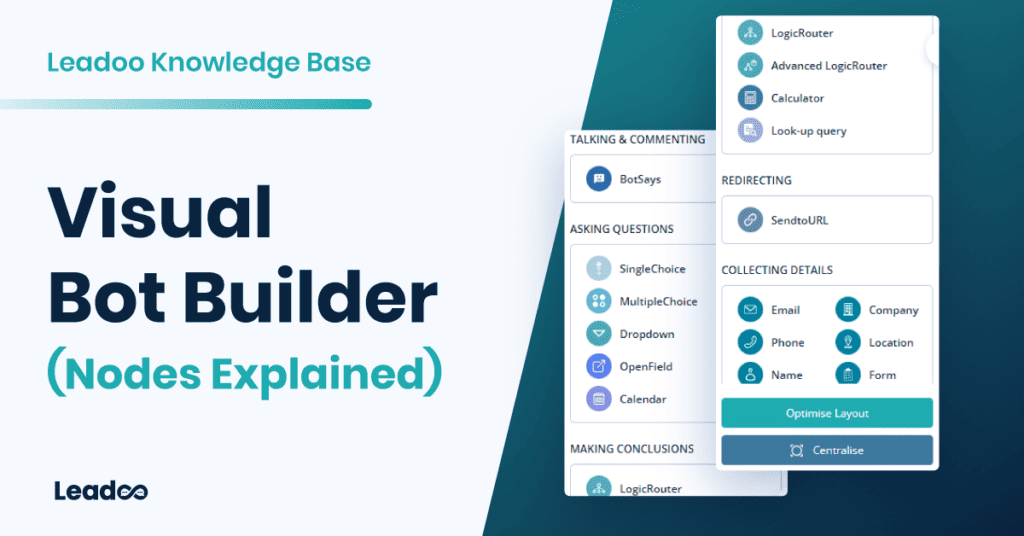
1. Greeting users and reacting to their answers with “Say Something” node.
2. Asking qualifying questions from the user with the “Single choice” node.
3. Providing solution in exchange for contact information with a contact node, such as the “Phone”.
“Say Something”-node:
This one-way interaction field is used for a salutation, a statement, reaction or for a simple intro on your product or service. With this field, you cannot create a question or an enquiry that includes two-way interaction, such as a direct answer from the user. Rather, it is just a great way to make the conversation more lively and human-like!
“Single Choice”-node:
With a “Single choice” node you can to create questions with answer choices such as “yes” or “no”, which require an answer from the user. For each answer choice, you can choose to guide the user to a different dialogue path/conversation flow. This can be done easily by dragging a line from the green dot to the next node you want to use.
“Single Choice URL”:
“Single choice with url” is just like Single Choice, except that you can choose to connect an URL to each answer choice. This node is perfect when you want to guide user to a specific landing page straight from their answer choice. For example, asking an e-commerce visitor what kind of product he/she is looking for, you can easily direct them straight to the appropriate landing page from a single interaction with the chatbot.
“Let’s get in touch!” -nodes (Name/Email/Phone/Company/Location/Contact):
When you want to collect contact information, you can choose between five different nodes: name, phone number, email address, company, location or a full contact form-like field. Each chosen field will give the answerer an empty field to respond. This option is usually used towards the end of the bot conversation when contact details are needed to proceed. These are the nodes that are most often used to define leads generated by the bot!
“Other/Message”-node:
This field allows you to ask an open-ended question to which the user can answer by writing freely. An open text field is usually used to ask a more specific or personal question that you can’t come up with a predefined answer choice for.
After you finish building your dialogue paths, you can easily preview and test the conversation yourself before publishing it by clicking the “Preview” button on the top.
A preview window will open to the right side of your screen. By clicking the “Restart” button you can restart the discussion in the preview window to experiment different discussions flows.
You can find the bot settings from either the bot listing or when you are in the editor.


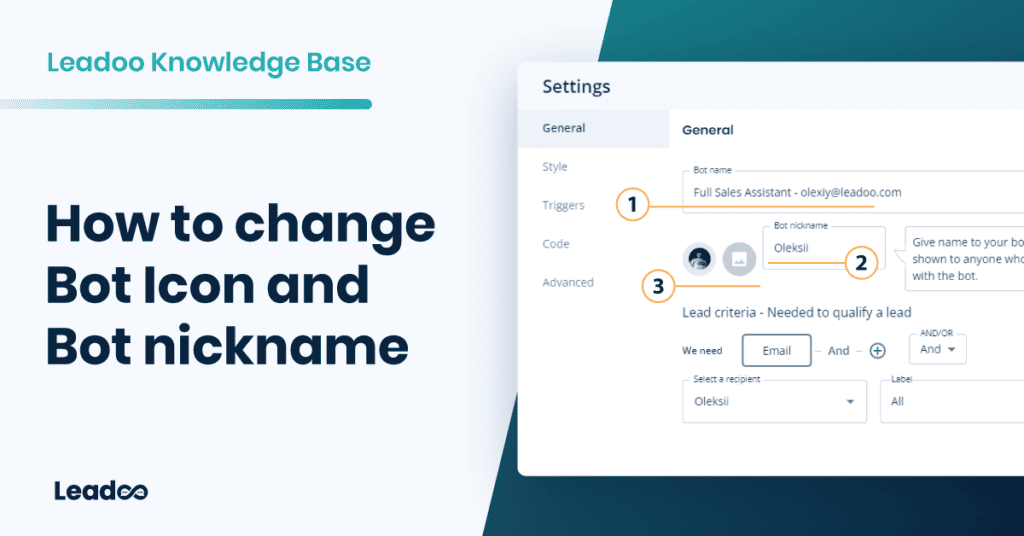
You can update the name and picture for each bot on the general tab. ⭐️ Remember to choose square pictures to avoid squashed or stretched faces!
If you’re updating a chatbot you might need to update the trigger style too. Keep reading to find out how to do this.
We recommend using OR and ticking Email and Phone. This means that if a visitor submits either their email or phone number the bot will capture the lead.
You can define who you want to receive lead notifications in each bot. You can add as many notifiers here as you wish, just click + and select the user from the list.
⭐️ TIP – You can define who gets what leads by using labels. E.g. all quote requests go to John and all support requests go to Sue.
Find out how to add labels here.
If you need to send leads based on their type e.g. sales, marketing or recruitment but some users need to receive leads under multiple labels; this is how you do it.
Note – You’ll see all your added labels whether they have been used in the bot or not.

Chatbot and Inpage bots share the same styling options. You can edit different bot colours to match your company’s branding.
You can either use pre-made styling or build styling for each bot.
You can change settings such as:

Leadoo AI has 6 different chatbot window styles as well as the ability to customize the chat icon, image and text banners.* Find this via the triggers tab.


You can define the way the chatbot window opens up:
Trigger settings can be used together or, leave blank if you don’t want the chatbot to pop up.
*Note that you can have separate chat window styles and trigger rules for desktop and mobile devices.
This is where you define where a chatbot should appear on your website.
You can define which pages it should and should not appear on by adding a set of rules.
URL trigger rules
leadoo.com/ = the chat triggers only on the front page of leadoo.com
leadoo.com/* = the chat triggers globally on each page of leadoo.com domain
leadoo.com/*/* = the bot appears on every page of the website except the front page
leadoo.com/*product* = the bot appears on the subpage defined within ** as well as all pages under that subpage
*leadoo.com/* = the bot appears on every page on the website domain, as well as its each subdomain, such as app.aleadoo.com/
Always when URL includes
URL contains: blog = the chat triggers on each page of the domain where the URL contains the keyword blog (like leadoo.com/blog/increase-conversion AND leadoo.com/blog/5-chatbot-benefits, etc.)
Forbidden when URL includes
URL doesn’t contain: sign-up = the chat triggers on all leadoo.com landing pages, except any URL that contains the keyword sign-up, like leadoo.com/sign-up.
Note! There is no need to add https:// to URLs. You can add the asterisks in front of your URL definitions to make the triggering more bullet-proof (e.g. *leadoo.com/)
There are 3 default ways to trigger an Inpagebot:
Contact your Customer Success Manager or [email protected]
Defining triggering rules for a ChatBot
Did you know that the placement and triggering of a chatbot can often define the success or failure of a chatbot when it comes to results?
Follow these simple steps to find out how to engage your visitors with Leadoo Chatbot in the right place and time! 💪
Once you have added the Leadoo script to your website header your chatbot visibility is controlled with settings in your Leadoo platform. Leadoo allows your chats to be displayed to the visitors based on custom URL rules. This means that you can define which chatbot you want to appear on different pages to personalise the visitor’s experience on-site.
Step 1. Open up the settings for your bot. This can either be found via the bot listing or in the editor.


In the example above this chatbot would only appear on leadoo.com/product/conversion-kit. If you wanted your chatbot to appear on every page on your website you would change it to leadoo.com/*. The * acts as a catch-all for all other page URLs.
You can find more page-specific setting examples below or under “See more” within settings.
Page-specific (most popular choice)
= Chat triggers when a visitor enters the exact URL address you define in the given field. You can broaden the selection by using the asterisk sign *.For example:
leadoo.com/ = the chat triggers only on the front page of leadoo.com
leadoo.com/* = the chat triggers globally on each page of leadoo.com domain
*product* = the chat triggers on pages that include the path product (like leadoo.com/product/inpagebot AND leadoo.com/product/chatbot)
You may want to use multiple chatbots across your site or even hide them on certain pages, this is where our advanced URL trigger rules come into place.
Note! Do not add entire URLs in the advanced URL rules, only the keyword that appears in the URL.
We’ve given you plenty of control over what the trigger and icon look like as well as how frequently it pops up including:

You already know how to hide your chatbot on certain pages, but what if you need to hide it everywhere temporarily? You can easily deactivate your bot within the Leadoo platform in just 1 click! Navigate to the bot type e.g. https://app.leadoo.com/conversion-kit/chat then click the toggle in the ‘Activate’ column.

Remember, no matter how awesome your dialogue is, it won’t have much effect if nobody sees it – so put some time and thought into defining your trigger settings!
If you have any technical challenges reach out to [email protected] or the team member you are currently working with.
Advanced logic router uses “if, then” -type of logic to define what a bot should do next based on what has happened earlier. Here are some common use case examples to help you understand when and how you could make use of the node in your bots.
When wondering which inputs and operations to use as the basis of your logical conditioning, start by thinking what you want to make sure has happened before this point. Maybe one of these fits your case?

Example case: If the user’s budget is less than 1000 euros, advise them to directly contact the resellers instead.
Input: Dynamic variable with type “number”.
Input collection method: Attach desired dynamic variables to any node where the user can input an answer (e.g. SingleChoice, MultiChoice or OpenField). If needed, use a Calculator node to calculate the total price from user inputs and use that new output variable as the input.
Operation: > (greater than), < (less than), >= (greater than or equal to), <= (less than or equal to) or == (equal to)
Example condition: budget < 1000

Example case: If user wants to pick-up their pizza order from the restaurant, route them to a conversation path that doesn’t mention any price for the delivery.
Input: Label
Input collection method: Attach a label into desired answer choice(s) in SingleChoice or MultiChoice node. (Show options -> Labels -> Label group (Select/Create new) -> Label (Select/Create new))
Operation: exists(x)
Example condition: exists(pick-up)

Repeating the exist(label) conditioning for each of the answer choices in a MultipleChoice node allows you to check which conditions from the multiselection question are fulfilled and, if you will, show the user a selection-specific messages accordingly.
Example case: If user selected product A, B and C, show product description for each selection before moving forward.

Example case:
A) If the user mentioned in an OpenField answer that they are in a hurry with their matter, attach a special notion about this into the contact details of the lead.
B) If the user said that his/her country is Finland, advise them to be directly in contact with the local Finnish office.
Input:
A) Dynamic variable with type “text”
B) Lead data (e.g. Name, Email, Phone, Company, Location)
Input collection method:
A) Attach a dynamic variable into the desired open-ended question asked with OpenField. (Variables -> Select/Create new -> Read input)
B) Use a contact detail collection node (e.g. Name, Email, Phone, Company, Location)
Operation: contains (x,y)
*where x = text/keyword you want to check, y = variable attached to the question
Example condition:
A) consists (hurry, urgency)
*where hurry is a keyword and urgency is a dynamic variable
B) consists (finland, Location)