Even if Your Offering Is Complex
The Complexity Fallacy
Among specialist or technical B2B companies, you often hear a common sentiment when it comes to websites. Our products or services are so complex that it’s impossible to explain them simply online.
It is true that many products or services are complex. It is difficult to distill Aerospace components, or Actuarial software, or AI-driven anything down into simple straplines or bullet points.
But it’s important not to conflate complex information with a complex buying journey.
Believe it or not, your website can very simply and succinctly guide users to conversion points – no matter what you sell. And still provide buyers with all the information they need to know about specifications, invoicing, case studies, manuals, procurement details or anything else complex.
Read on to find out how. Or watch this 5 minute video from our Head of Marketing, who looks at how Universal Robots create simple yet compelling buying journeys. Despite selling something very technical and expensive – robots that automate production processes.
If they can create simple online journeys selling those, so can anyone!
And it’s essential that even niche B2B providers do. Research shows that more than 4 out of 5 B2B buyers want to make buying decisions online. Even for things as complex as solar panels or statistical analysis. Simplifying digital buying journeys has become essential, whatever you sell.
As established, B2B buyers want to research and go through their buying decisions online. So it’s only natural that they would expect websites to be interactive, able to answer their questions, and make enquiries easy.
If you’re sending visitors to a website which does the following things – you aren’t meeting their demands:

These are all too common in many specialist websites. But the reason they don’t work and result in low conversion rates is because they place the burden on the potential buyer. Learn more about Traffic vs Conversions.
Buyers often have to parse through multiple sections or pathways of a website to find a product relevant to them. Or content that shows it off in action. Or to ask a simple question to a sales rep – that they have no idea when it will get answered.
And with 80%+ of buying decisions happening online, you better believe they’ll be looking at competitor websites too. If they get an instant and interactive experience that allows them to find these things more efficiently on another site – you’re forever playing catchup.
In the Universal Robots example from the video above, as soon as potential buyers come onto the site they are greeted by the on-brand ArthUR – who asks them what he can help them with. Anything from submitting a sales enquiry to discovering the right robot for you, can be taken care of by ArthUR.
Buyers want to research and find out info for themselves. But they also want to find that easily. Signposting and personalised prompts based on their behaviour are essential to this.
In that Universal Robots example, if you click through to the full showroom of products, you can filter by product types, applications, etc. Or you can simply click back into ArthUR. But instead of showing you the same options as before, he knows he sent you to the showroom.
So now he just asks – did you find the product you were looking for? And if you didn’t, or you have a question, you can type it directly into the bot that the customer service team will get back to you on.
No sending you to a contact form page. No forced telephone or live chat options that requires a team on call. We landed on the homepage, got advice on choosing a relevant robot, saw all our available solutions, and were able to submit a question – all in a handful of clicks. And without ever having to even scroll down pages.
Hopefully the above has given you ideas for how to make the initial browsing of your specialist B2B website more interactive, relevant and instantaneous.
If you can implement a similarly efficient pathway, either through web design or conversational tech like chatbots, you’ll have a lot more people reaching relevant product and services pages.
But then you need to get those potential conversions over the line. Universal Robots do a fantastic job of this. Firstly, their product pages contain very digestible graphics, specifications, and traditional CTAs above the fold.
You can also scroll down and see tabs of images, more in-depth specs, and even product manuals in clearly marked tabs in the page. So whether it’s a product expert or a procurement department visiting the page – the user has all important info available to them.
But, remember we’re trying to make the buying journeys as simple and interactive as possible! Some users might not even want to have to scroll through these pages.
So that’s where ArthUR comes back into play. This time he pops up as an Inpage bot, as you scroll through the product page organically.
And again, without being directed to another URL, you can do anything from asking a question specifically about the UR3 robot, to seeing case studies of it in action, to downloading technical support manuals.
A product as complex as an industrial robot, summarised in an inpage bot with 5 interactive prompts. That allows the user to answer any questions they have it about – and even start the buying process.
It’s these final conversion touchpoints that have allowed Universal Robots to achieve notable commercial successes through their website recently.
Ready to find out more?
Step 1. Decide what you want to add to your audiences.


Step 2. Create triggers on GTM

Step 3. Create tags
Facebook:
<script>
fbq(‘trackCustom’, ‘remarketing-ecommerce’);
</script>
‘remarketing-ecommerce’ <- this part of the script will be the name of the audience on your Ads Manager

Google Ads:

Leadoo AI collects information about visiting companies based on the public IP address of the company.
So, the visiting person’s IP address is identified and then checked if it belongs to a company. If it does, the company is shown in the company listing. If it doesn’t, the information isn’t displayed. In either case, the IP address isn’t stored anywhere.
We have a partner company called Clearbit. So, the IP address information goes there and company information comes back from their database. Visitor profiles (if in use) are then linked to these companies either via IP or according to company information given in the bot (i.e., manually filled in the company name into the bot). If there are additional questions / need for clarification, I am happy to answer.
In short, from public sources. Clearbit probably won’t tell where they get their data but almost all such actors (for example, Leadfeeder in Finland, Lead Forensics in UK) make use of several different sources; they have people who browse the web, they use public data sources, etc. However, it’s important to note that these are not personal data, but Clearbit, Leadfeeder etc. link the company’s IP space to the company’s name and its public information. For example, if Nokia Oy owns the IP space 109.68.1.1-109.68.1.45, then whenever a visitor comes from those addresses, it is recognized that the visitor works at Nokia.
Another important thing is, from Clearbit’s point of view they never know whose sites the visitor has even visited and from your site there never goes a call to Clearbit. All traffic to them goes through Leadoo. So, they don’t know whether the person working at Nokia has visited hs.fi, leadoo.com, or etuovi.fi. They don’t even know about the existence of any of these or any information about the person.
Personal data comes from the information people leave in the bot. Before that, we can “identify” the devices that have been used to visit the sites. These people are “unknown visitors” until they leave their contact details through the bot. Identification is done based on the etag left by the device and browser (works the same way as a cookie, but different technology). So how it works: A person comes to the site -> tracking is on if cookies are accepted -> x device is identified. -> person leaves the site -> an “unknown visitor” profile is created -> The person returns to the site the next day with the same device -> the same etag is recognized, meaning the person visiting with the same device is recognized -> the information from the previous day and new information are combined under the same profile -> person leaves their own information in the bot -> “Unknown visitor” becomes an identified person based on lead information.
There are 4 different tracking options you can set up on Leadoo AI’s control panel.
If you want to only track companies, you would choose “Never track” and in Company tracking you’d choose “Always track”.
If you want to add Leadoo tracking to your cookie acceptance but your CMP isn’t TCFv2 compliant you have to use Custom Consent Handling.
So how this should work is that Leadoo AI loads two types of scripts in different ways depending on whether the user accepts statistical cookies or not. So if the user does not accept statistics, the bots will load, but the analytics script will not load. As a result of this loading, cookies etc load correctly automatically. Below is how to make this work like this:
Leadoo AI’s bots can be loaded directly onto the website. However, Leadoo AI’s tracking can be put behind cookie acceptance. This happens in the following way:
From Leadoo AI’s tracking settings, the option “never” is activated <- tracking doesn’t automatically start. By default, Leadoo’s settings are ‘always track’, but it can be changed from Leadoo’s control panel. At the same time, the following script is added to your CMP that overrides the “never” rule after cookie acceptance and Leadoo’s tracking starts to work:
if (!window.ldanalytics) window.ldanalytics = [];
window.ldanalytics.push(function(a) {
a.toggleTracking(true, false);
});
More information here: http://docs.leadoo.io/docs/analytics-tracking#custom-consent-handling
And here’s which category each cookie falls into: https://leadoo.com/help/does-leadoo-use-cookies/. But as mentioned, with the way above, they load correctly depending on cookie acceptance.
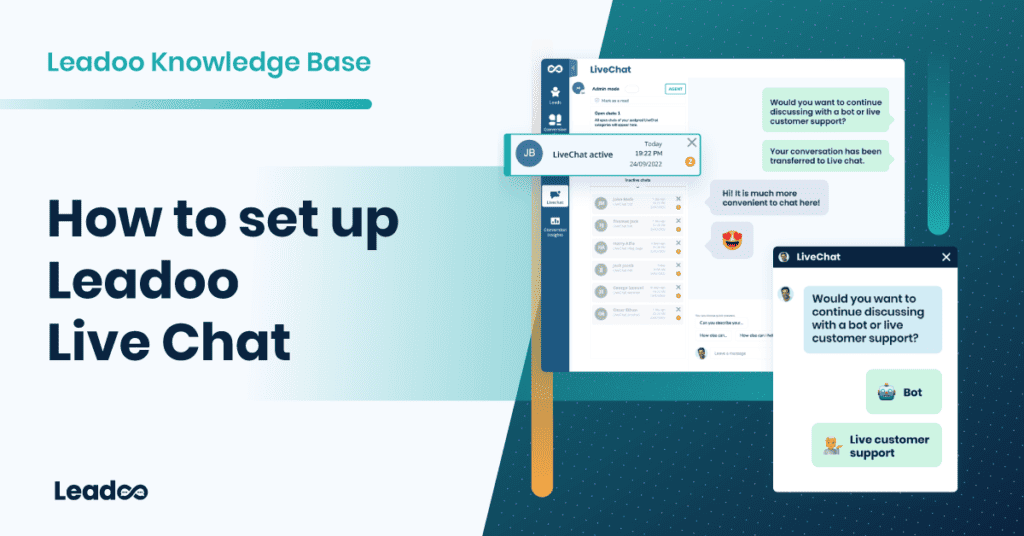
If you are currently using our livechat application and have noticed that the sound notifications are not working properly, we would like to clarify that this is not an issue with our application. Instead, it appears to be a browser-related problem.
To resolve this issue, we recommend following the instructions provided on thetroubleshooting sound issues in Chrome for Chromebook, Mac, Windows, and Ubuntu users. By following the steps outlined in the article, you can attempt to resolve the sound issue on your browser and ensure that you receive sound notifications for our livechat application.
1. Launch Chrome
2. Click on the three dots (or three horizontal lines) in the upper right-hand corner of the browser.
3. Go to the Settings
4. Now, under the Privacy and security tab, click on Site settings.
5. Find app.leadoo.com
6. Find “Notifications”, “Sound” and “Background sync”. Then set all of them to “Allow”
1. Open Firefox
2. Select settings -> Privacy & Security
3. Search for App.leadoo.com and allow notifications

If you are currently using our livechat application and have noticed that the sound notifications are not working properly, we would like to clarify that this is not an issue with our application. Instead, it appears to be a browser-related problem.
To resolve this issue, we recommend following the instructions provided on thetroubleshooting sound issues in Chrome for Chromebook, Mac, Windows, and Ubuntu users. By following the steps outlined in the article, you can attempt to resolve the sound issue on your browser and ensure that you receive sound notifications for our livechat application.


1. Open Firefox

2. Select settings -> Privacy & Security

3. Search for App.leadoo.com and allow notifications

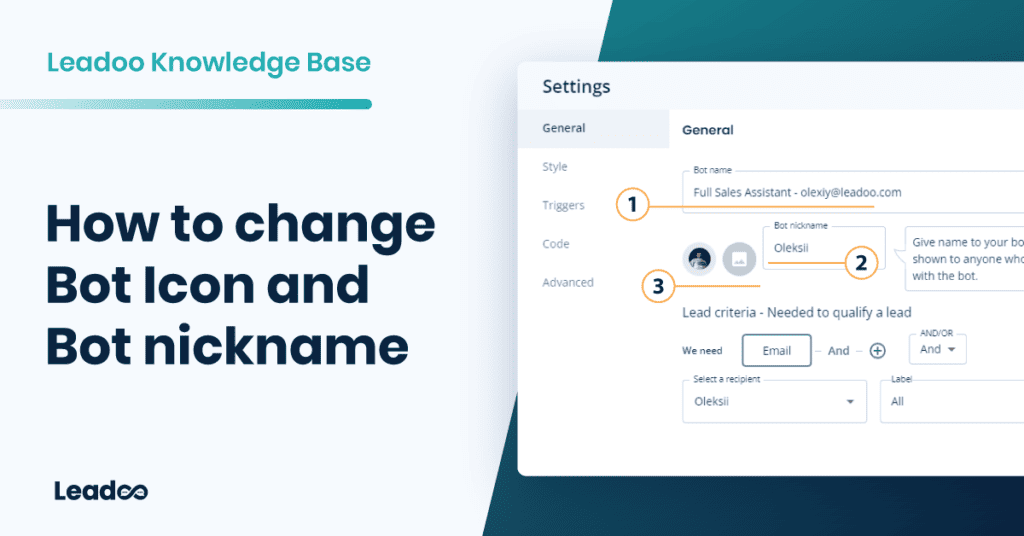
You can change your Bot Icon and Bot nickname from individual bots settings.
Navigate to the bot you want to change the icon.
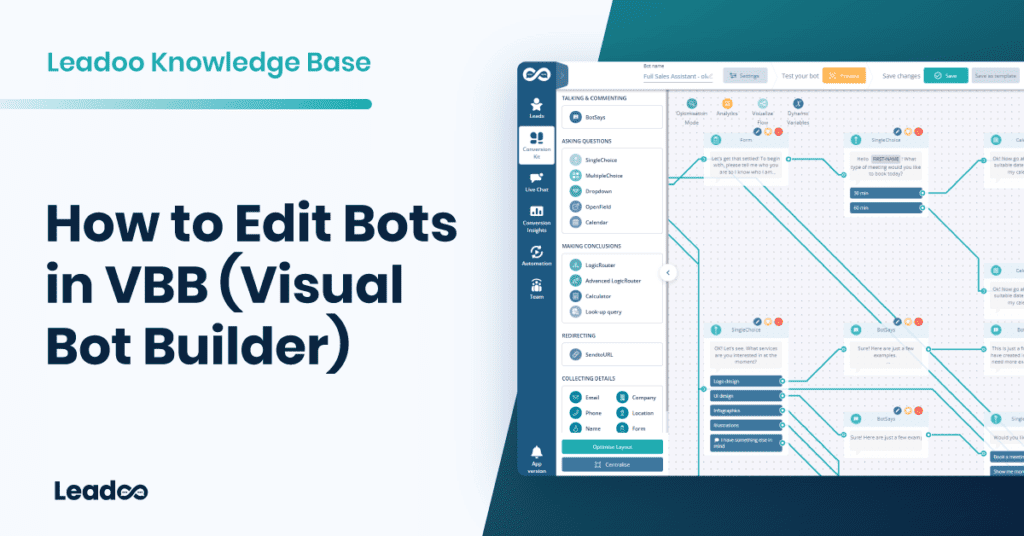
When you’re in the Conversion Kit and have found the bot you want to edit click Actions and select Settings
*You can use the search field to find specific bot by searching either the bot name or the bot id found on the embedding code

On the General tab you can see Bot Icon and Bot nickname next to each other.


You can use predefined bot icons or upload a photo from your files to use as your bot icon. Make sure that the photo you upload is a square (ie. 200px x 200px) and that the photo is .png .jpg. or .jpeg
You can also give the bot a nickname that will be visible on chatbots header. This name will be shown to anyone who starts a discussion with the bot.
Make sure to save any changes you make.
If you have any issues or need help you can contact [email protected]
On Lead settings you can define what information you want to include on your lead emails by selecting different sections.*
*Note, that all the information is not always available, in which case the field will not be included in the email even if selected.
You can also define Email subject and intro text. That way you can make the email subject more clearer to the lead recipients. Ie. You can add the email subject to contain name and company of the person that contacted you. You can use following macros:

If you use outlook we recommend you to use Outlook optimized email templates.
And if you have issues copying the message from lead emails select ”Include a plain .txt to lead info with the lead email”

If you have any issues or need help you can contact [email protected]